-
Posts
260 -
Joined
-
Last visited
-
Days Won
79
Content Type
Profiles
Forums
Events
Everything posted by Exhumed
-
You need a monospaced (fixed-width) sans-serif font. That's why the digit always jumps around when the first/last digit jumps. For the simplest fix with no jumping at all: just pick any good monospaced font like JetBrains Mono or Fira Code — install it and set it up as font in the sensorpanel.
-
Exchanging sensor panels doesn't necessarily mean sharing the sensor panel file with others. Sometimes someone just wants to show off their panel, and that's perfectly fine. Additionally, anyone who shows several designs here (jpg, png) will quickly reach the maximum file size allowed for uploads in the forum. Some people then delete older files to upload newer ones, and this can sometimes cause sensor panels and or screenshots to disappear. And according to the rules, this is allowed. Editing sensor panels is time-consuming. Sometimes seemingly simple requests for changes can escalate into unexpectedly large amounts of work. You might turn to someone who does it for free because they enjoy it and are happy to help. Others, however, would like to be paid for their time, which is understandable. To what extent the pricing is appropriate, such as $5 for editing a load indicator, is something everyone has to decide for themselves, whether it's worth it or whether they shouldn't try it themselves. No one is forced to accept such services. Should someone engage in unethical practices, you are free to report this user to one of the moderators or forum admins if it smells like a "rip-off" or if there are any other problems. Help is available here upon request, usually always. Some of us have also posted short guides in the forum to make it easier for beginners to edit their sensor panels themselves. --- When I joined the community here, I offered all my sensor panels for free, until one day one or more users started downloading my panels to offer them for sale on a Chinese website. Incidentally, this website still exists, where freely published panels are regularly offered for sale. That's when I realized my sharing mentality was hitting reality on the internet these days – everything gets stolen, nothing is rewarded, hardly anyone says thank you. Download and that's it. Many users don't even manage to click the like button. This would increase the visibility of the free panel, and on top of that, it's a form of appreciation for the work and time the person put in. So, you either accept the theft or take a different approach. And from then on, some, like me, offered their panels for sale and, to protect their intellectual property, continued to add a copyright watermark to preview images. I don't modify other creators' sensor panels, and I haven't had any requests to do so yet. I work on my own content and modify these panels upon request, e.g., to different resolutions or other things. Exactly. The topic of passing off the sensor panel as one's own and/or using other people's content without asking and then trying to sell it. This has all been discussed here before, yes. If we notice such behavior or it is reported to us, the user in question will be warned and/or permanently banned.
-
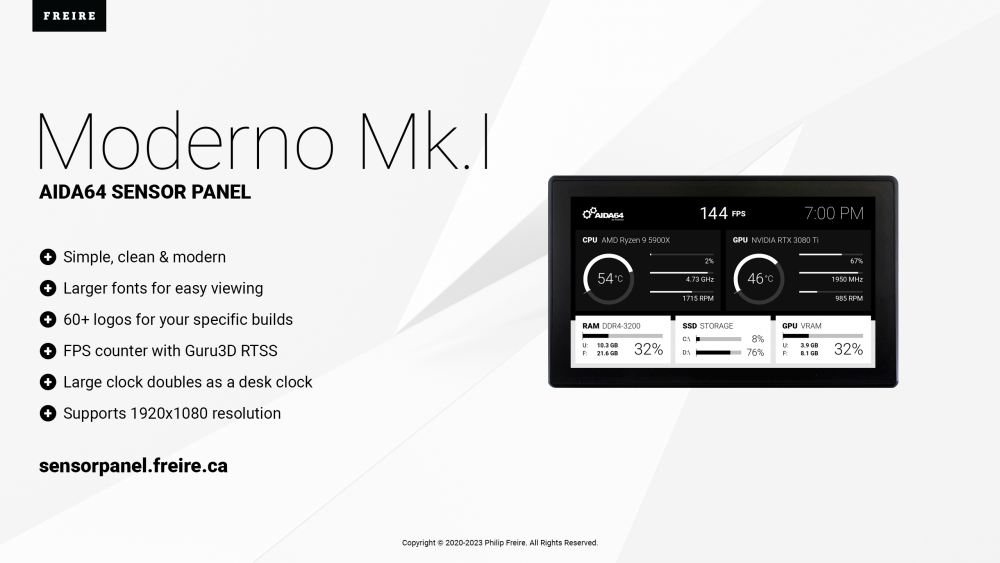
It is the sensor panel supplied with Aida64 that comes with the installation of the software.
-
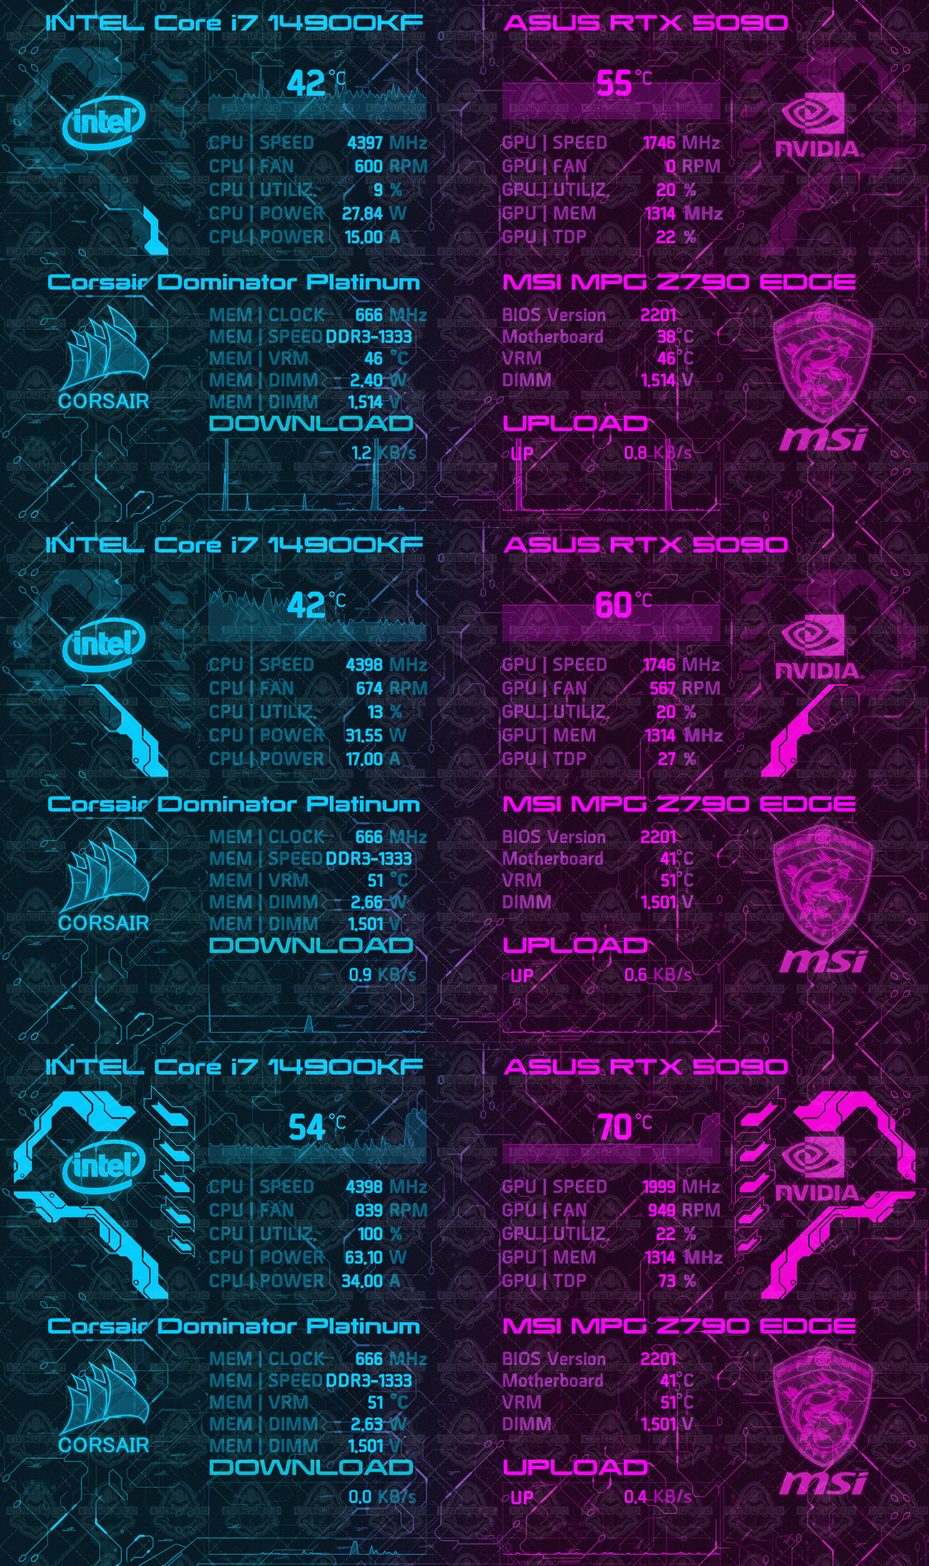
RGB B0T | Aida64 - Sensor Panel by Exhumed | 2560x1440px (horizontal) Cyberpunk 2077 | Aida64 - Sensor Panel by Exhumed | 2560x1440px (horizontal) Cyberpunk 2077 Phantom Liberty | Aida64 - Sensor Panel by Exhumed | 2560x1440px (horizontal) A customer wanted to buy three sensor panels with a resolution of 2560x1440px. The design of the Cyberpunk panels seems to be well received, as many people want to buy these panels. I recreated some new things to fit the higher resolution. I added a color-matching drop shadow to many objects to make the graphics stand out more from the background. And added a custom MSI (and Corsair) logo by hand as a vector to preserve the outline style so that it visually matches the sensor panel. Resolution: 2560x1440px (horizontal) Art style: vector Theme: Retro, Cyberpunk Colors: cyan, purple, yellow Font: Mass Effect and others Gauge: 15 steps Image Format: PNG with transparency Background: 2 bg images, RGB B0t has 3 different bg styles (without robot face, with robot face and noice effect). Contact me if you are interested in buying one of these panels.
-
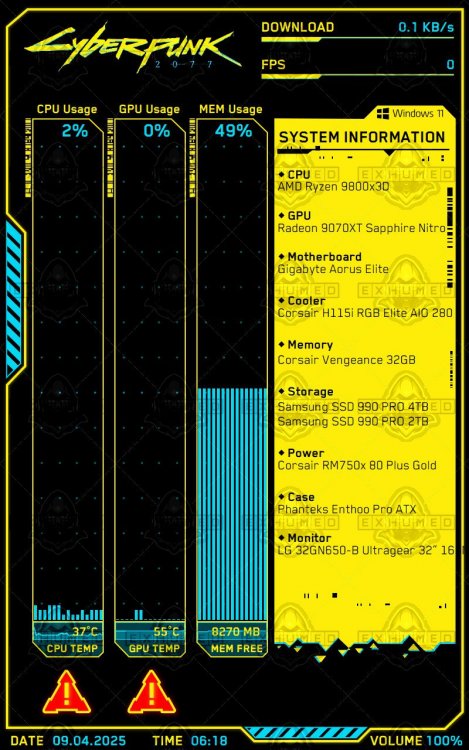
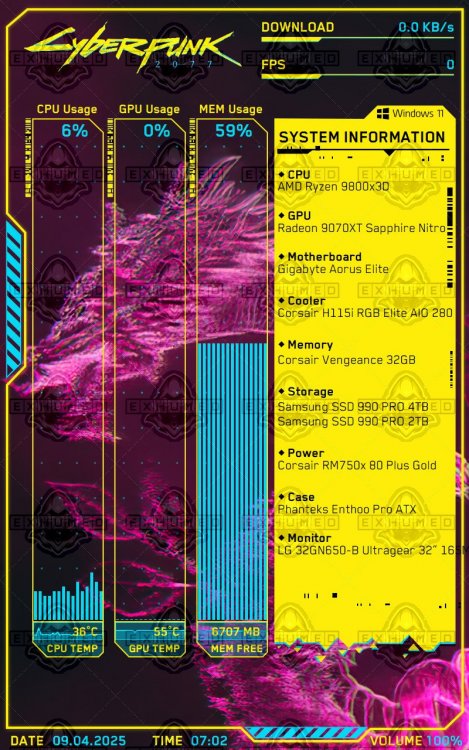
Cyberpunk 2077 | Aida64 - Sensor Panel by Exhumed | 1024x600px (horizontal) Another size of this panel. The whole frame is transparent. Two background images are included but you can also add new ones. I changed the layout and arangement a little bit, removed the download info, added a master volume bar and i added a glowing shadow for the yellow frame and the cyan diagonal lines. CPU and GPU have a red temp indicator (image) and are displayed as soon as the temperature reaches the preset value. Resolution: 1024x600px (horizontal) Art style: vector Theme: Cyberpunk Colors: cyan, yellow Font: Blender Gauge: no Image Format: PNG with transparency Background: 2x background images (black, purple) Contact me if you are interested in buying this panel.
-
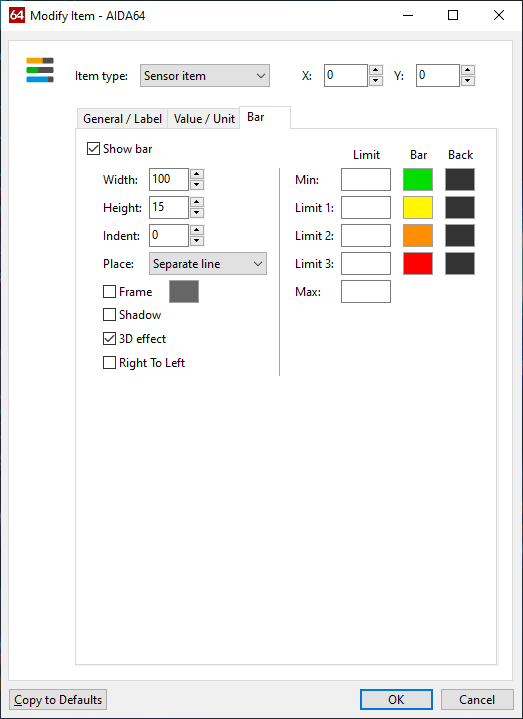
If the bars are Aida64's own, you can change the color tone very easily. Open the sensorpanel manager and click on the object and "Modify". Under the tab "Bar" you see the the standard color values: green, yellow, orange, red. In your panel they are dark blue. Leftclick on the color green as example and a new popup window opens. Choose a different color and so on. Click "Ok" after you changed the colors and the bar should look different now. You can also play around with "3D effect", "Shadow" options, the "Height" and "Width" of the object. For the graphics: you could use a online graphic tool or download a free graphic software to change the colors and save them again as a ".png" file to keep the alpha transparency. Gimp and Paint.NET.
-
RGB B0T v2 | Aida64 - Sensor Panel by Exhumed | 1280x400px (horizontal) After a long time, I have revised one of my older sensor panels and significantly improved its appearance. Newly added are the left and right load indicators for the CPU and GPU, respectively. I created the gauge display using individual vector graphics. It's an unusual design, but it looks cool and fits the theme. Otherwise, the colors of the sensor texts were adjusted and the background was revised. Resolution: 1920x480px (horizontal) Art style: vector Theme: Retro, Cyberpunk Colors: cyan, purple Font: Mass Effect and others Gauge: cyan (left) and purple (right) with 15 steps Image Format: PNG with transparency Background: 1x bg image Contact me if you are interested in buying this panel.
-
Cyberpunk 2077 Phantom Liberty (horizontal) Aida64 - Sensor Panel by Exhumed | 1280x400px A new requested Cyberpunk 2077 sensor panel. Now available in another display resolution (1280x400px), based on my Cyberpunk 2077 Version 1. I recreated the cyan gauge with the memory slots and enlarged it accordingly so that they fill the empty space better. I made a new custom gauge with red triangles and added a red shadow underneath. The background can be changed, the red frame is transparent. Three different wallpapers are included. Additionally, there are some icons in red. Resolution: 1280x400px (horizontal) Art style: vector Theme: Cyberpunk 2077 Phantom Liberty Colors: black/red/cyan Font: BankGothic Md BT and others Image Format: PNG with transparency Background: 3 different background wallpaper (blue, red, black pixel camo, black crosshair)
-
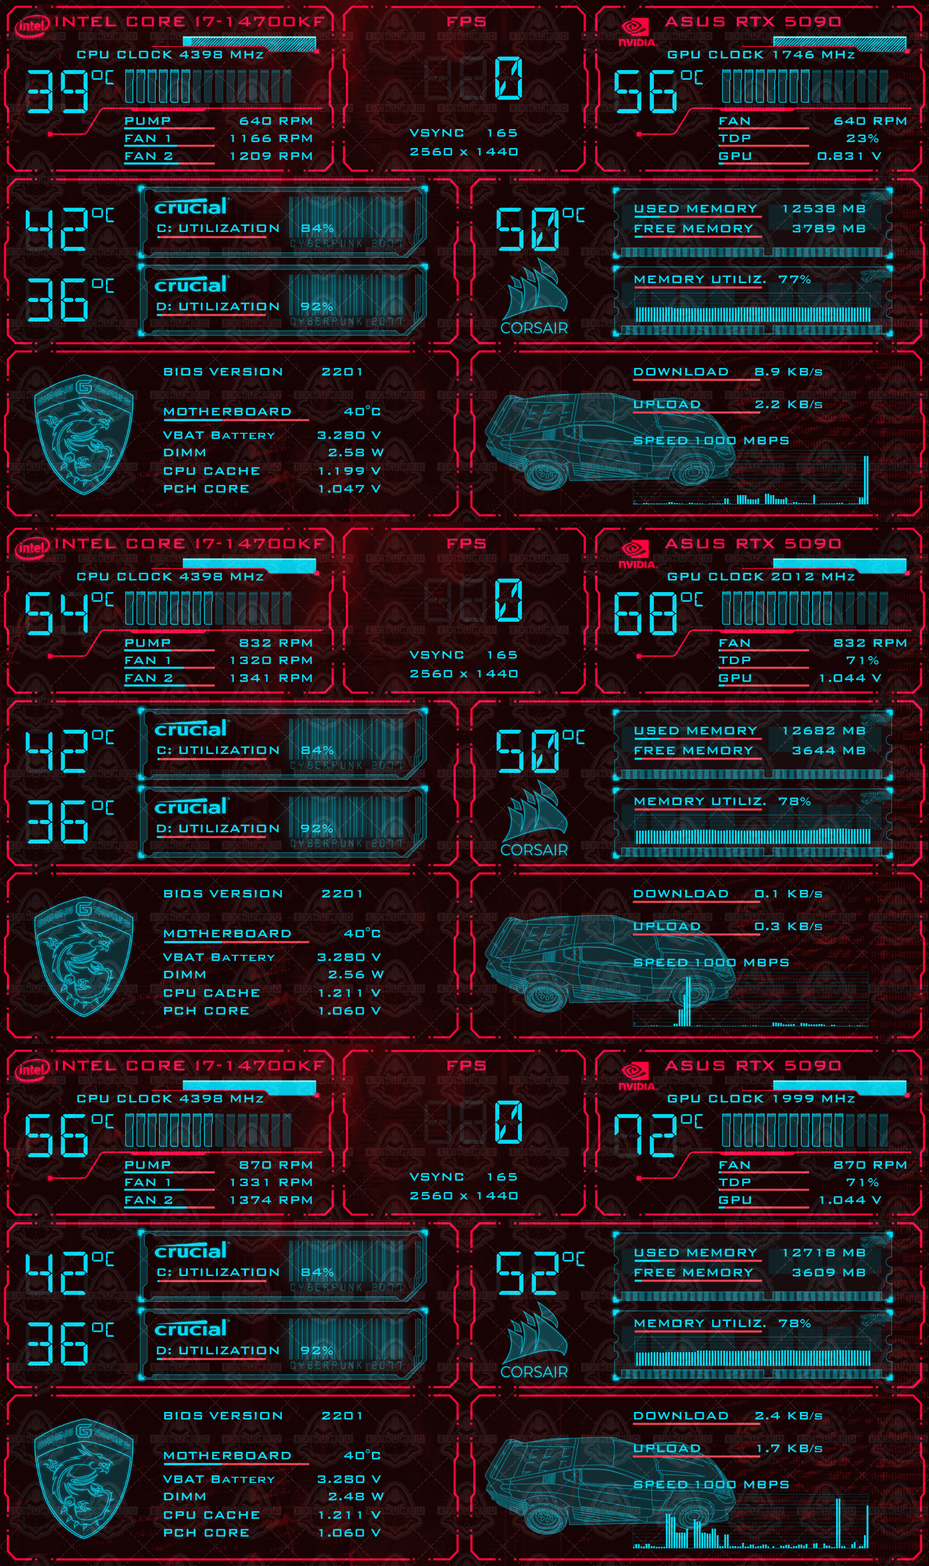
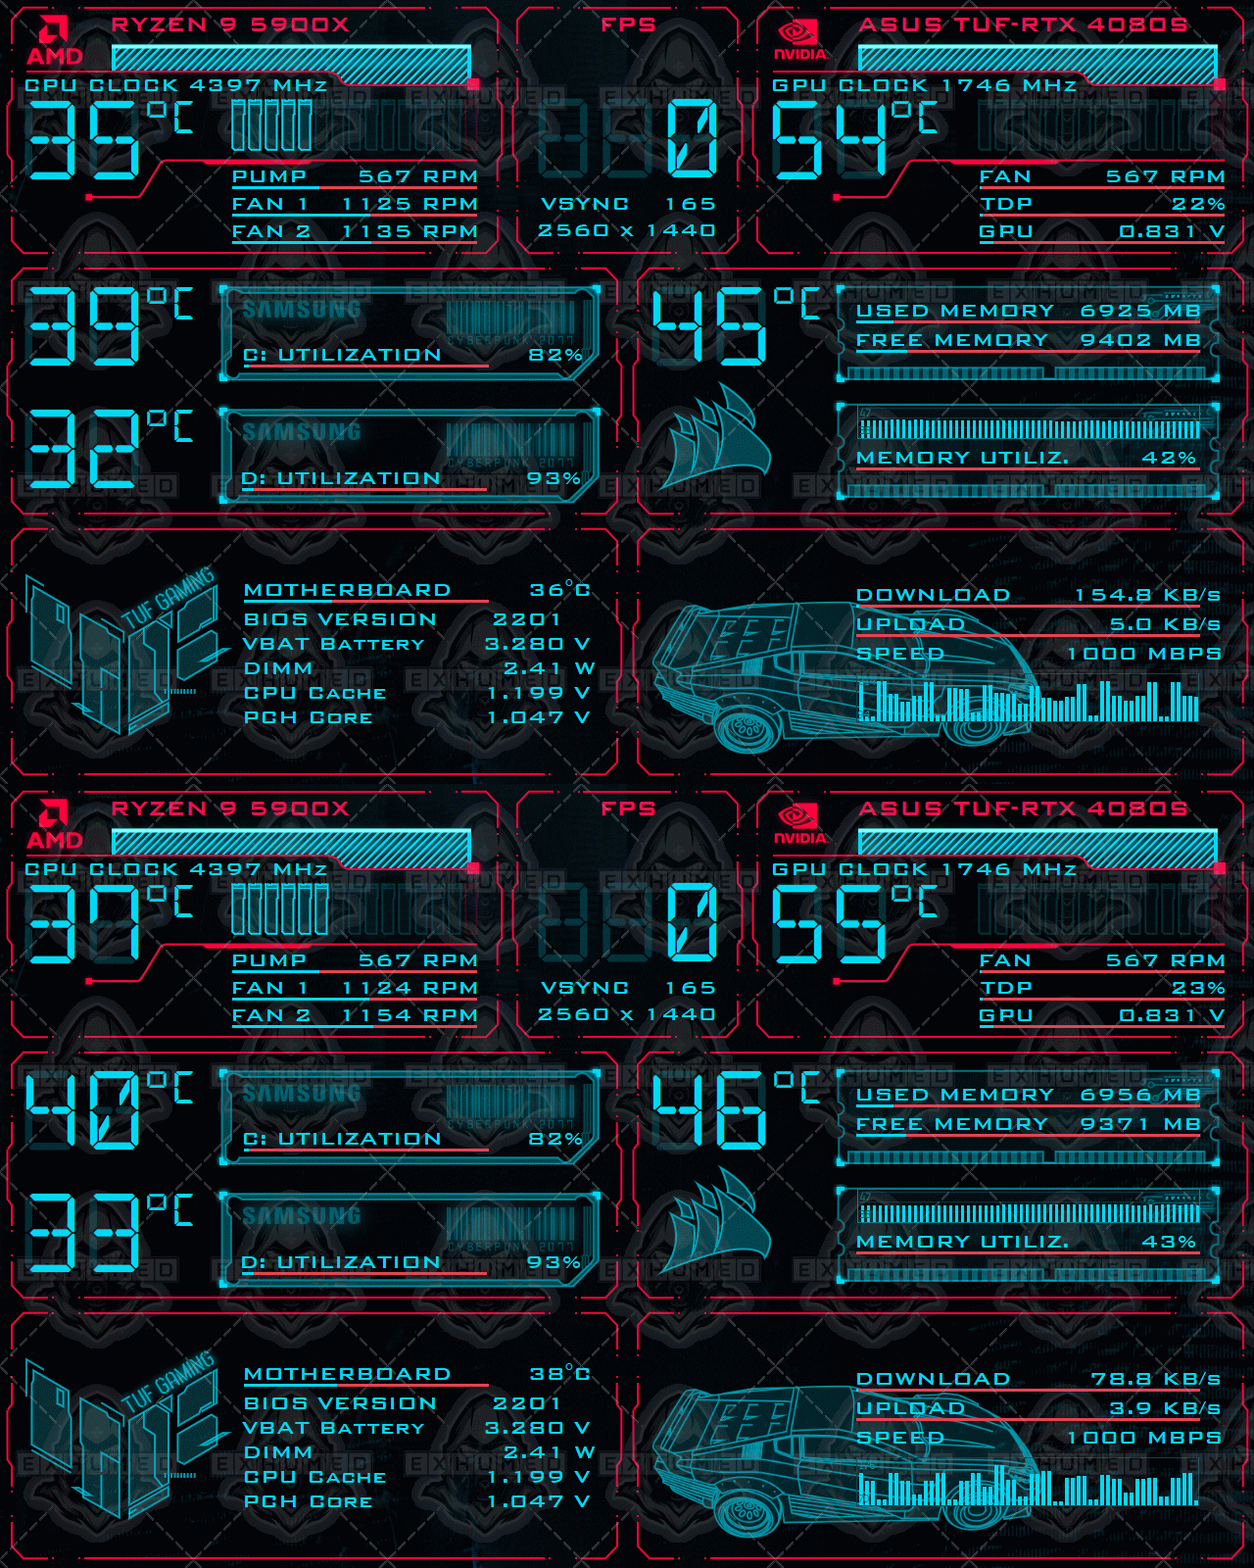
Cyberpunk 2077 Phantom Liberty (horizontal) Aida64 - Sensor Panel by Exhumed | 1280x800px A new requested Cyberpunk 2077 sensor panel. I had to change everything from my 1920x515px version. For the details i made a custom gauge (diagonal lines on the top) that follows the red line below. AMD, Nvidia, Intel, Corsair, TUF logo and i added the Quadra car from the game, i created for one of my CP2077 sensor panels. Also completely new are the two graphics for SSD and RAM. Both created as a vector image. The background can be changed because the red outline frame is transparent, four different wallpapers are included. Resolution: 1280x800px (horizontal) Art style: vector Theme: Cyberpunk 2077 Phantom Liberty Colors: black/red/cyan Font: BankGothic Md BT and others Image Format: PNG with transparency Background: 4 different background wallpaper (blue, red, black pixel camo, black crosshair)
-
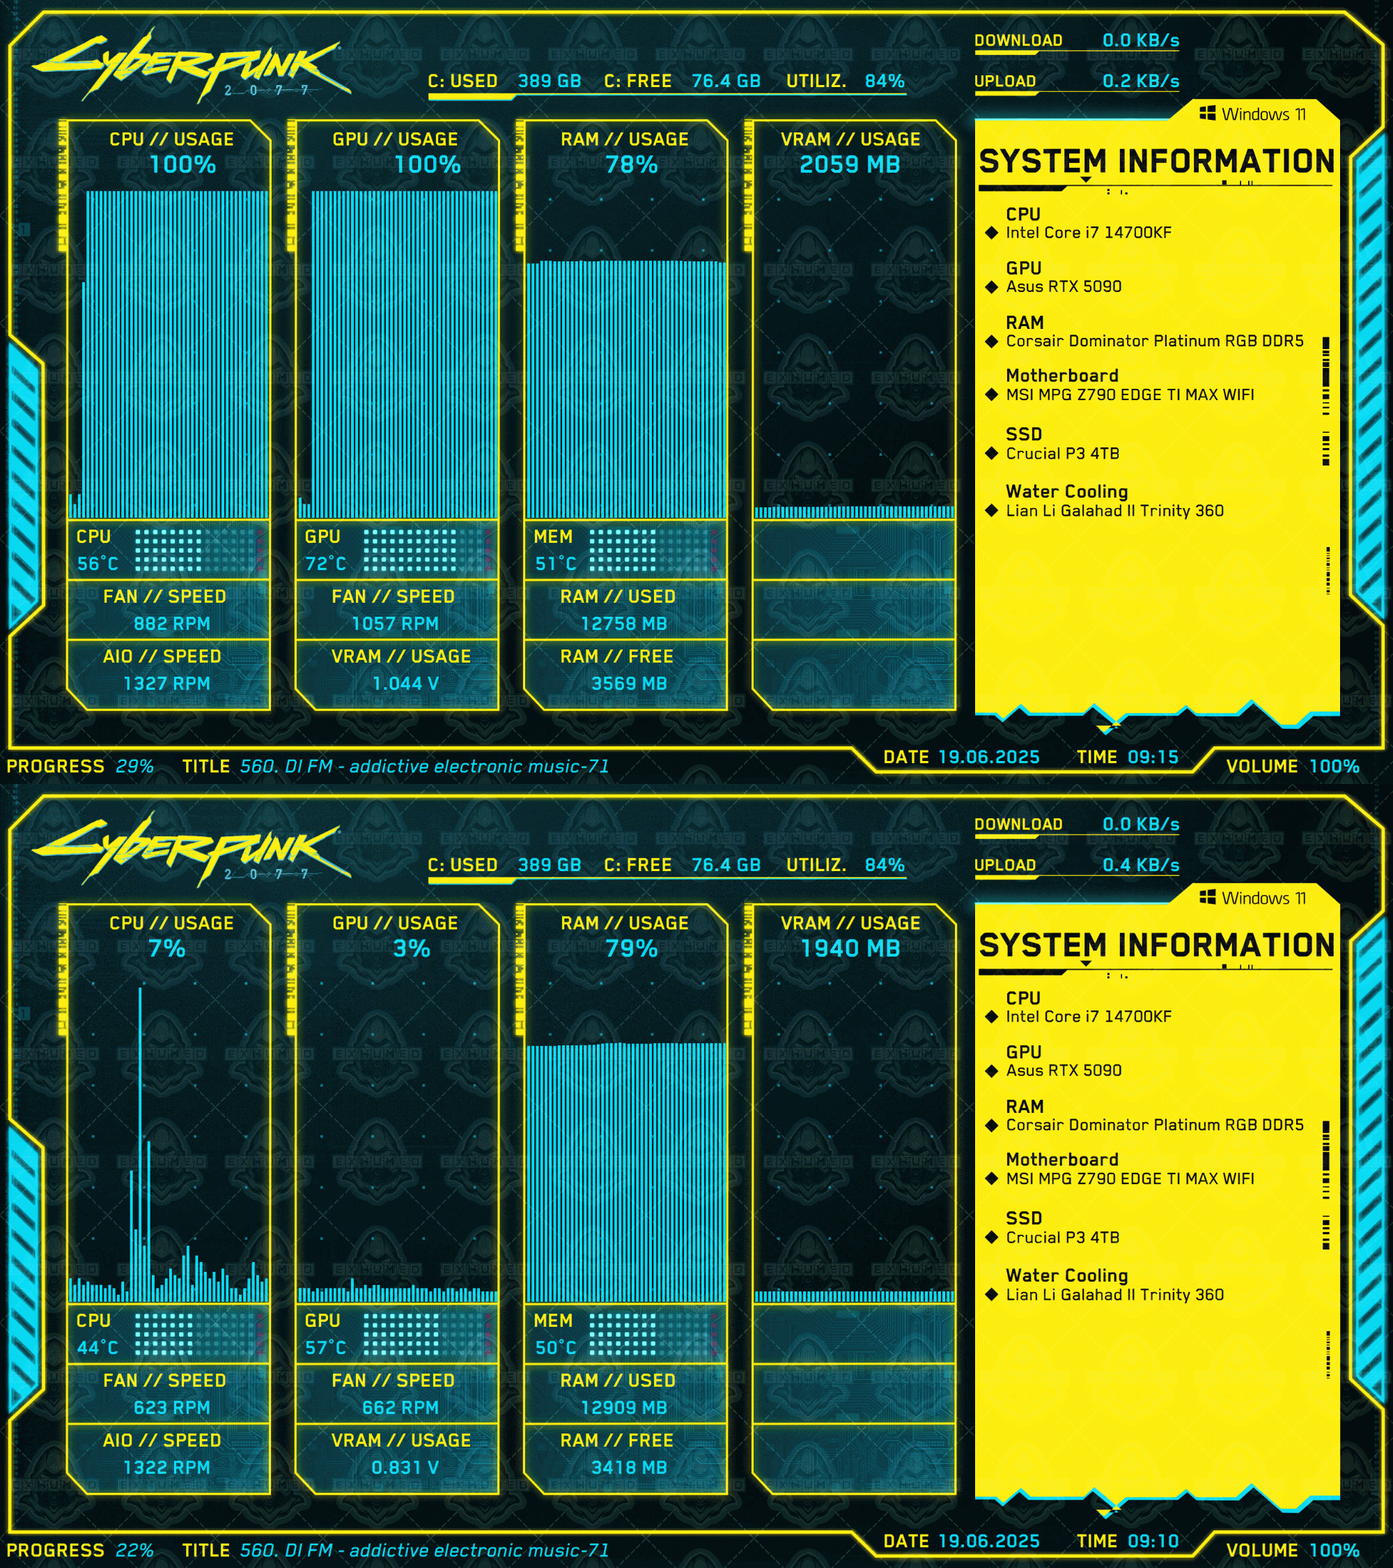
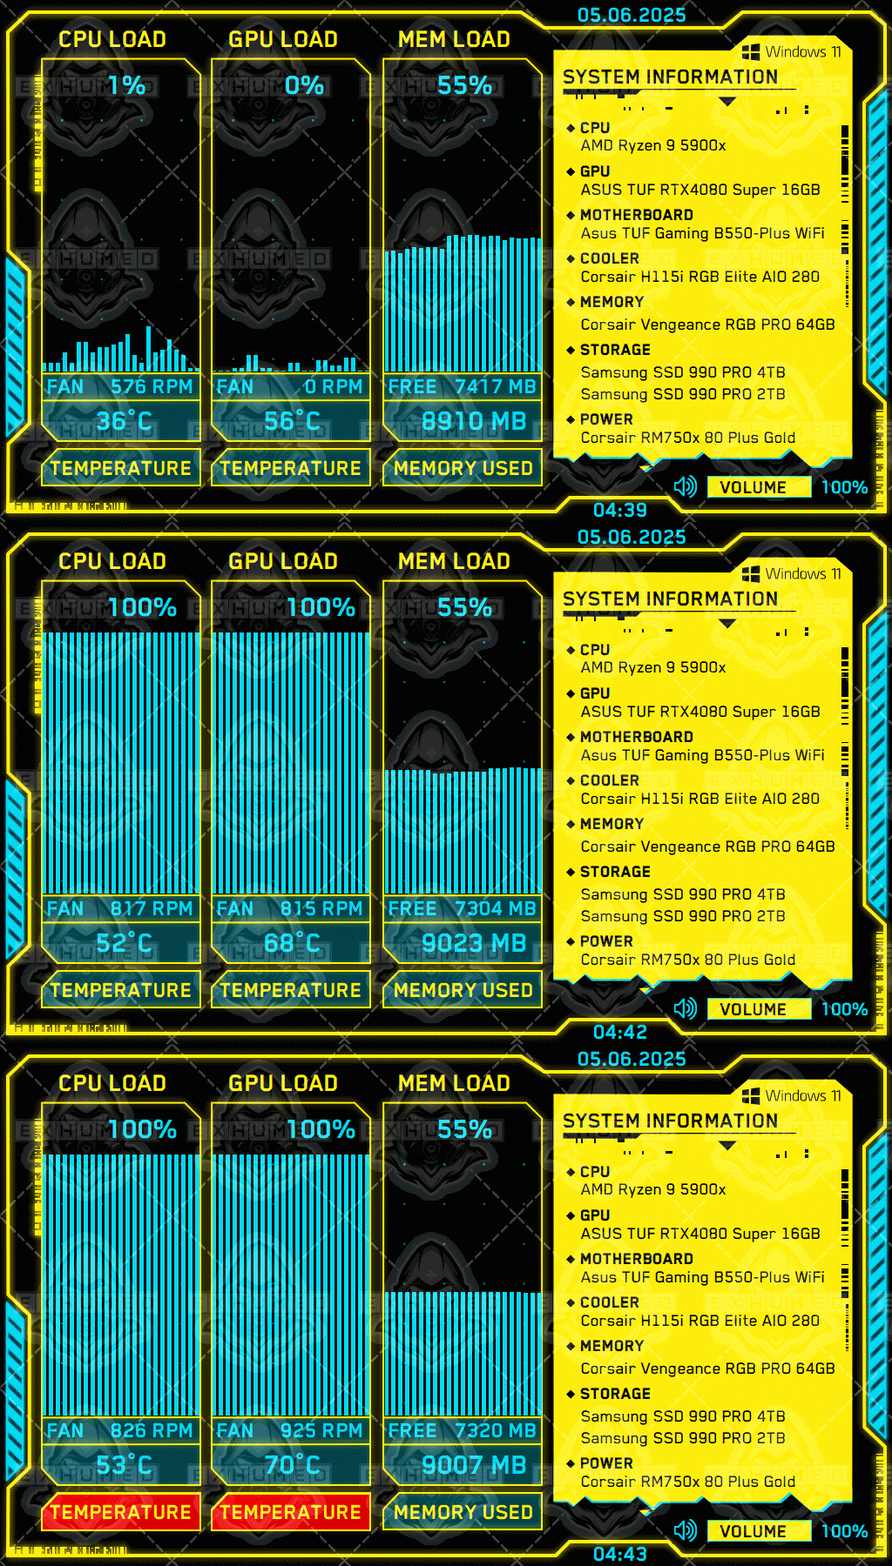
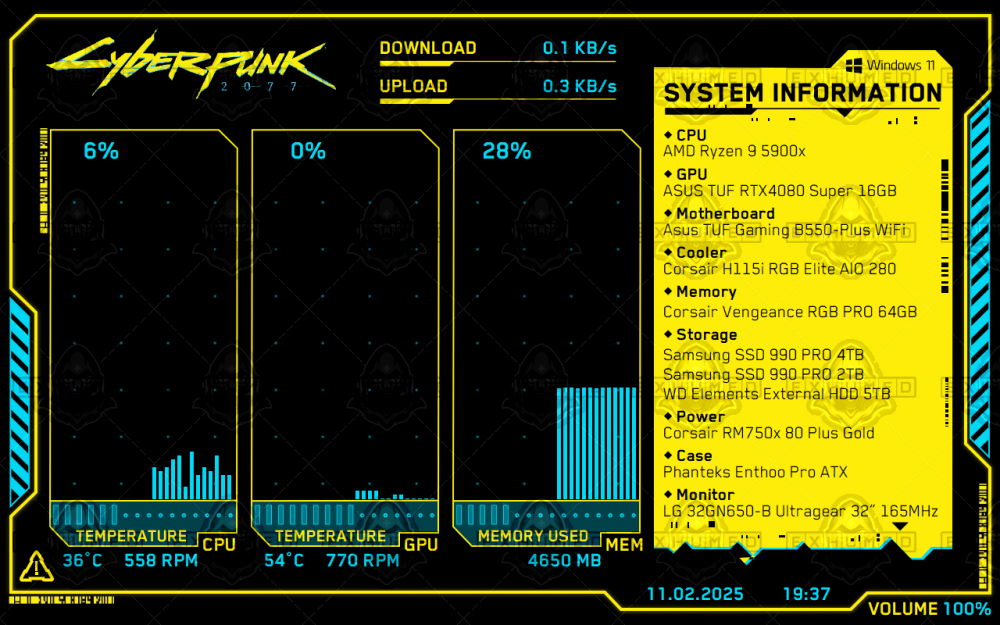
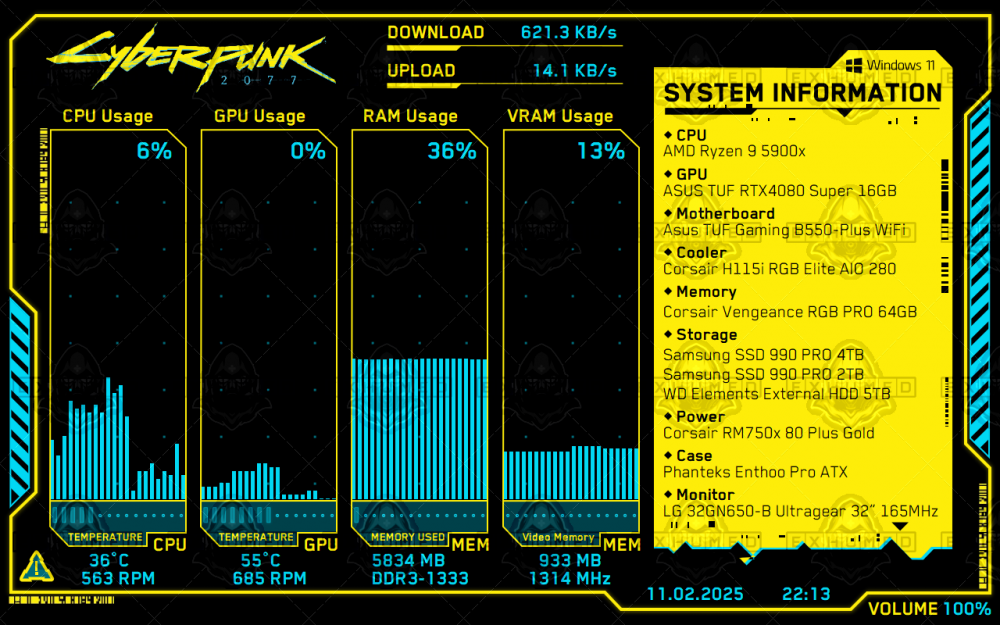
Aida64 - Cyberpunk 2077 (vertical) Sensor Panel by Exhumed | 800x1280px A customer requested a vertical version of my popular horizontal Cyberpunk 2077 sensor panel. As a result, I had to make some changes and also added new features, such as a visual temperature warning for the CPU and GPU. The warning indicator appears when the temperature approaches the set maximum value. The warning symbol has a red shadow of varying intensity, depending on the level. 5 gauges with blank images. The outer and inner frame is a transparent PNG graphic, so you can add your own background image if you wish. The Cyberpunk 2077 logo and "Windows 11" (Windows 7/8/10/11 images included) can be removed and or replaced individually. Sensors and texts (system info area) can be edited as desired. Resolution: 800x1280px Art style: vector Theme: Cyberpunk 2077 Colors: black/yellow/cyan Font: Blender
-
Wrong forum thread! If you have software issues with Aida64, please post them in the appropriate subforum.
-
No, i only found this panel.
-
-
https://www.nnscript.de/was-ist-der-rivatuner-statistics-server-ein-umfassender-leitfaden/
-
Allways check the downloaded files with a anti-virus software. The Windows AV is not good, use a third-party AV. There are some free AV-suits. https://www.avira.com/de/free-antivirus-windows https://www.avg.com/de-de/free-antivirus-download#pc https://www.avast.com/de-de/index#pc https://www.malwarebytes.com/mwb-download If you created a memory dump in Windows before the virus attack, you could load the backup. After infection: Run Malwarehunter and Malwarebytes over it and remove any detected viruses. This a special german user forum where you could get help ... but it's german language (maybe translate the url with google you can use it). https://www.trojaner-board.de/
-
Even if you abbreviated "Bullshit," it's still there and everyone recognizes it as such, which isn't okay. We don't allow hate speech or insults against other users here. If you don't like this forum, you're welcome to stay away from this official Aida64 forum. If you continue to behave so destructively, you'll be banned. It's that simple.
-
Hello Aida64 community. When posting a preview image of your sensor panel, avoid showing your IP address publicly for your own benefit. What do hackers do with an IP address? As soon as hackers get hold of an IP address that is currently assigned and online, the computer behind it is checked for security gaps. If security gaps are found, such as open ports, the hackers can carry out special attacks that allow them to gain short-term and limited access to the computer. In the next step, the hackers usually smuggle a Trojan horse or a backdoor program onto the computer, which allows them to continue to have permanent access to the computer even if the IP address changes. Cybercriminals can use these methods to install malware on your devices, steal your data, and track your online activity without you knowing. They can also use your IP address to find out your email address and send you spam or phishing attacks. Crippling your network with a DDoS attack Attackers can flood your network with traffic in a distributed denial-of-service (DDoS) attack if they know your IP address. This attack overwhelms your network and slows it down so much that you can't do or access anything online. Impersonating you for illegal activities Cybercriminals go to incredible lengths to hide their own identities, including stealing and using other IP addresses. Authorities have the legal means to track you down through your IP address (for example, by requesting your information from your ISP) and track you down for the cybercriminals' illegal online activities.
-
Aida64 - Vaporwave Sensor Panel, by Exhumed | 1100x3840px A customer wanted a Vaporwave sensor panel in 4K. Requirement: Vaporwave style and color palette (black, purple, yellow, teal). He wanted a specific image added to the panel so i did it. I added: frames with a gradient color, inner/outer-shadow, black transparent layer, added a specific font he wanted implemented. As bonus (free of sharge), i added some cool neon lightning effects on top to the image. Now the effects are more noticeable. Resolution: 1100x3840px Graphics: vector Theme: Vaporwave Gauge: teal colored squares
-
I created a outline frame, based on one of my sensor panels. The frame comes with different colors. Gradient and non-gradient variations. Say thanks if you like it! Creator: Exhumed - All rights reserved License: non-commercial use only Resolution: 1920x480px File: "frame outline (1920x480) by Exhumed.rar" Files: 22 different color variations (transparent frames) Images: PNG frame outline (1920x480) by Exhumed.rar
-
Aida64 - Cyberpunk 2077 Sensor Panel by Exhumed | 1280x800px A customer wanted a sensor panel based of my Cyberpunk 2077 (1920x1080) sensorpanel but as 1280x800px. Requirement: 1280x800 resolution, one version with three rows and one with four rows, for more hardware infos. I made the panel transparent so that you could add a background image to customize it. Resolution: 1280x800px Graphics: vector Theme: Cyberpunk 2077 Font: Blender Sensor Panel gauge: 15 (16 images) states gauge
-
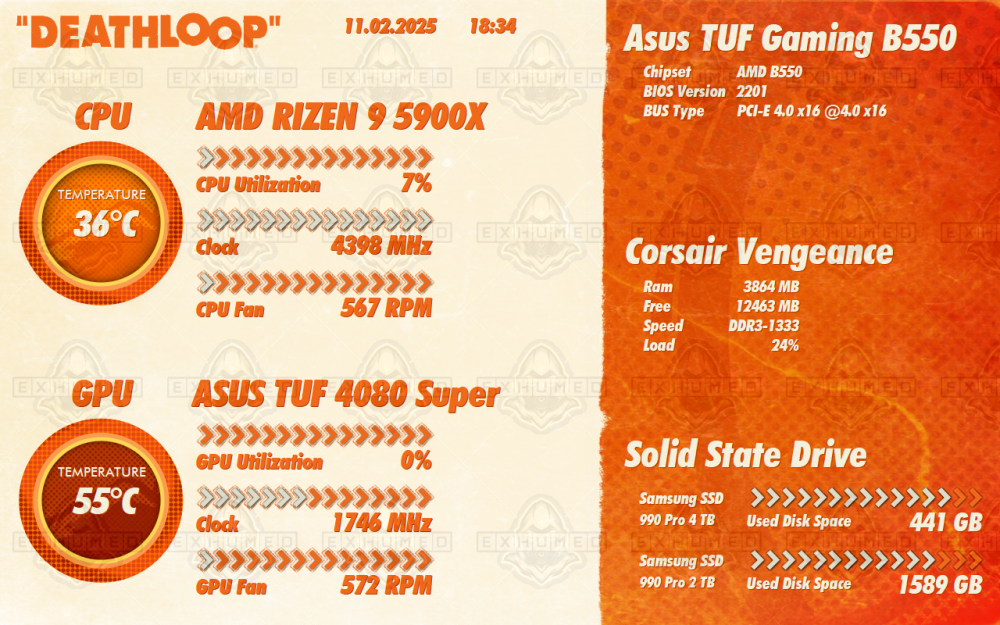
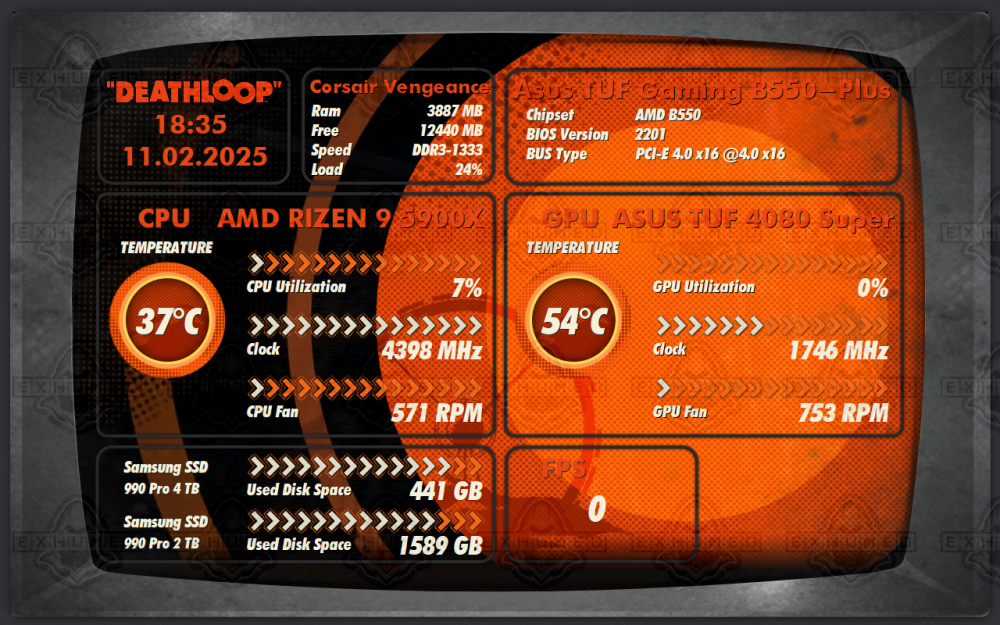
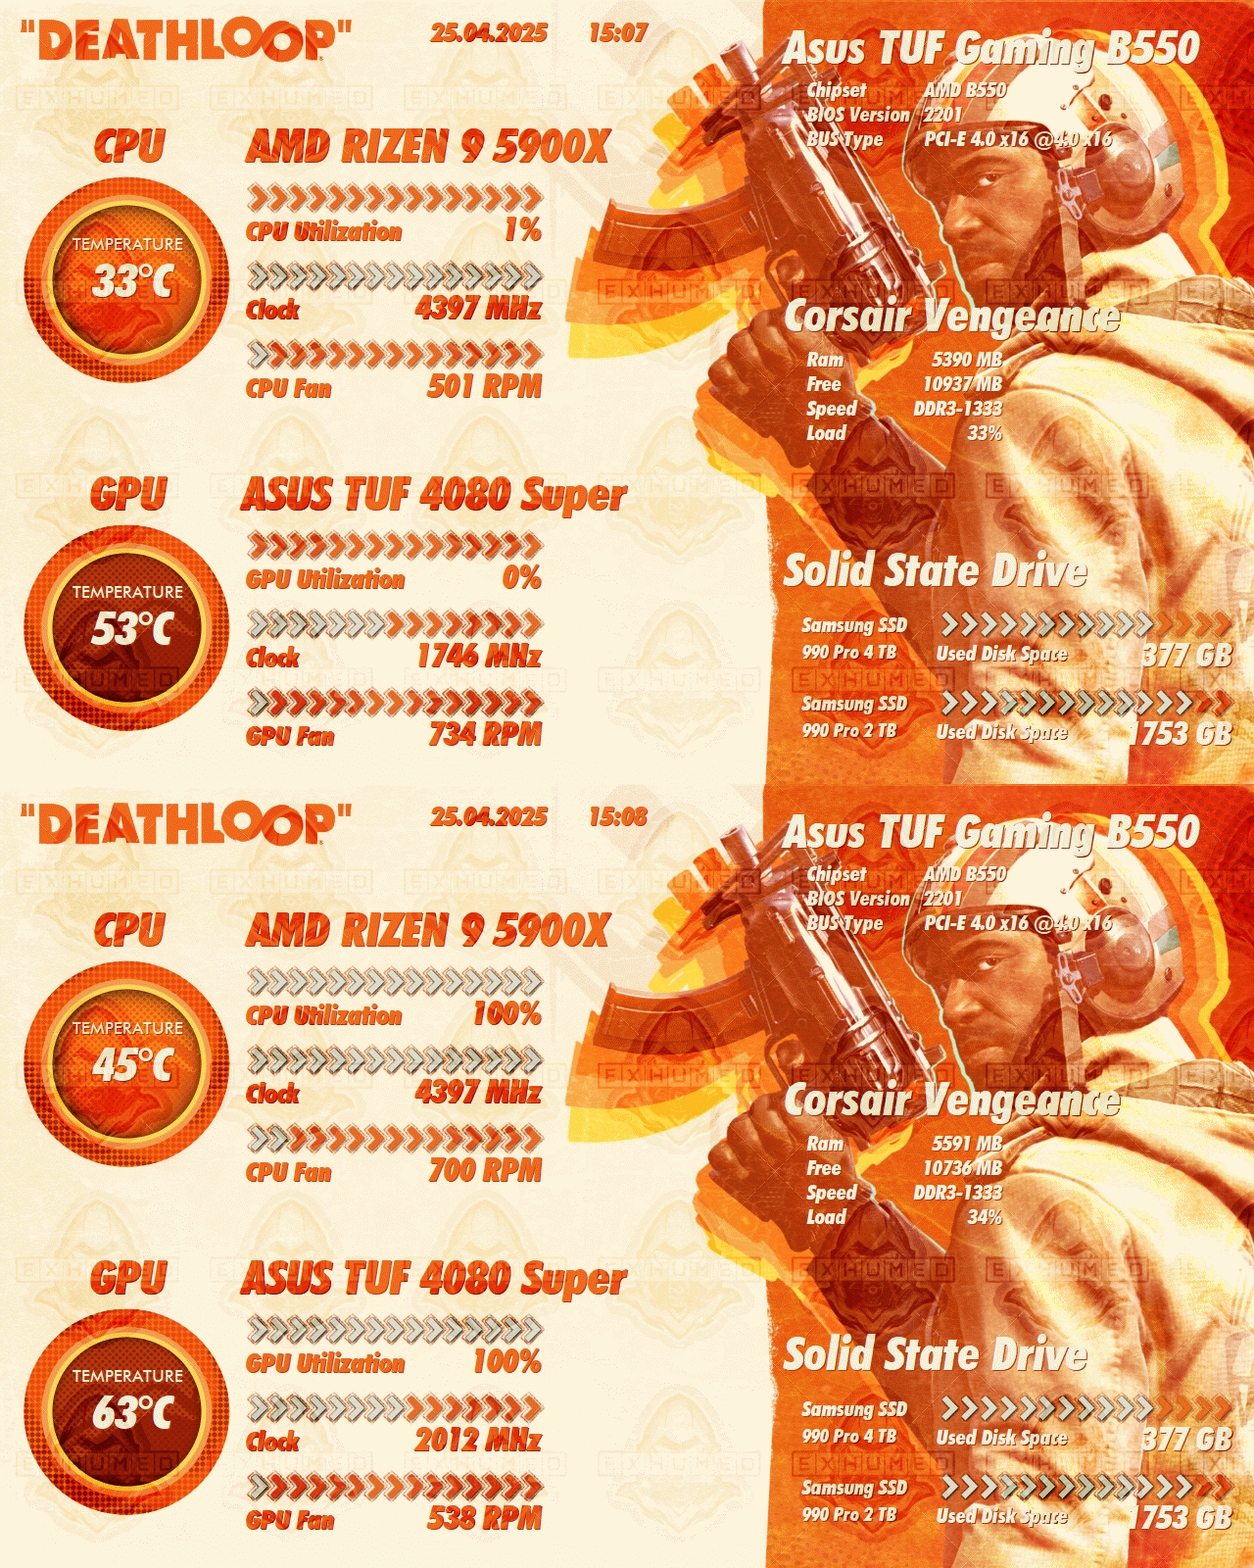
Aida64 - Deathloop Sensor Panel by Exhumed | 1280x800px A customer wanted a sensor panel for the Deathloop game. Requirement: retro style, same color palette and art design based on the game. So i made some handmade vector graphics (old tv screen, circle, gauge) with half-tone retro dots. The old tv monitor has a layer of a tranparent dirt effect. Resolution: 1280x800px Graphics: vector Theme: Deathloop Font: original/similar looking fonts from the game Sensor Panel gauge: I re-created a 15 step gauge, based on the arrows from the ingame menu.
-
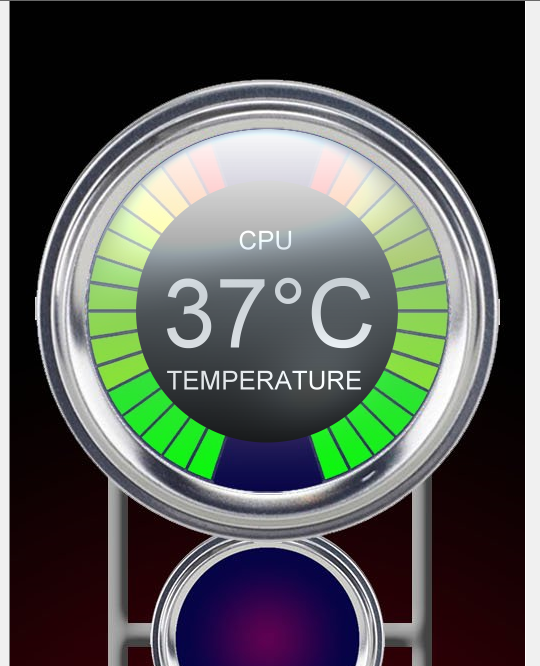
Here is my idea, maybe you like it. Put a black circle in the middle on top of the gauge. Add the sensor text. And add a transparent glass layer on top and the sensor text. Here is the glass layer, if you want to use it. You can use them both for free.
-
I like it, good work and arrangement. Some things i would change, give Sonic black eyes and maybe add a black outline of the shape, so it matches the Sonic Logo with outlines. I edited the eyes.
-
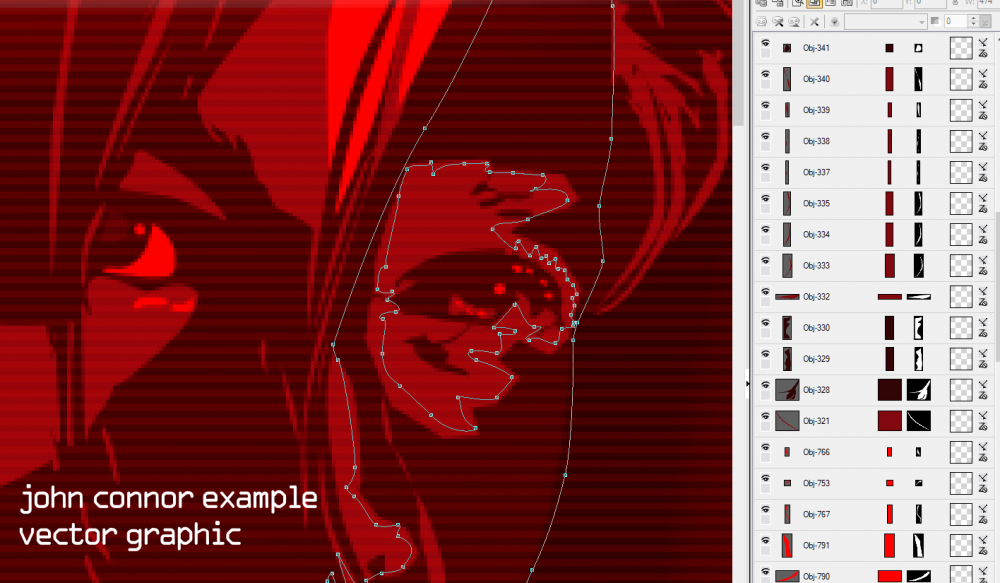
Aida64 - Terminator 2 Sensor Panel by Exhumed | 515x1920px I've wanted to create a sensor panel for Terminator 2 for a while. With custom graphics, which turned out to be quite difficult because these graphics would be very complex to create. And all the research beforehand took a lot of time: which characters do I want to show, which poses, which arrangement in the panel. I use two different methods to vectorize the images. One is a detailed image to vector and the other is a completely handmade vector. I think the result is really good. Resolution: 515x1920px Art style: vector Theme: Terminator 2 Font: a variation of the original Terminator 2 font Sensor Panel gauge: Arnold's red eye glows stronger the higher the CPU load is. Both T-800 eyes glows stronger the higher the CPU load is. Additional images: Terminator 2 logo (red, blue, chrome) T1000 (smelting furnace scene) The T800 shows Miles Bennett Dyson his endoskeleton arm T1000 as motorcycle policeman with MP-5 T1000 frozen in liquid nitrogen Sensor Panels: Each sensor panel is available for purchase separately. Sarah Connor (red) John Connor (red) T800 (red) T800 (blue) T1000 (blue) T800 Endoskeleton (red)
-
Wrong forum thread. Please post your hardware and or software problems in the corresponding sub-forum.
