Nereus
-
Posts
34 -
Joined
-
Last visited
-
Days Won
7
2 Followers


Nereus's Achievements
")


-
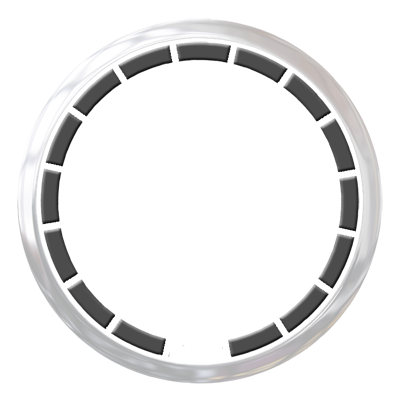
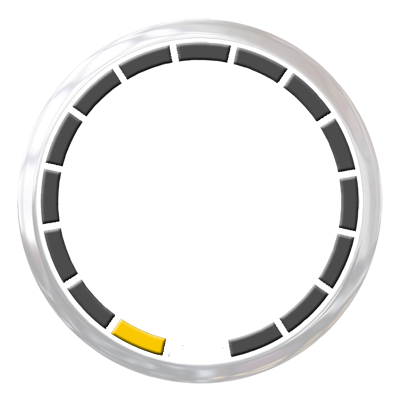
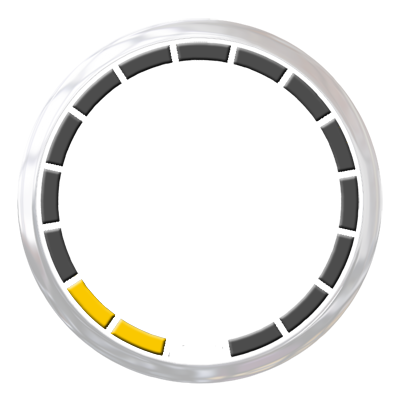
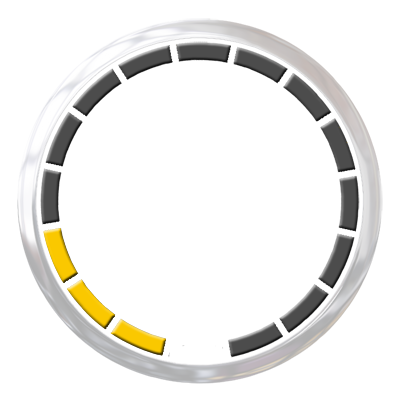
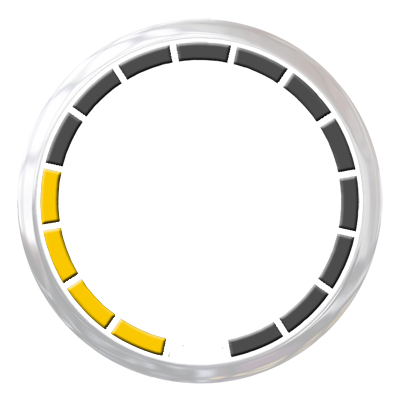
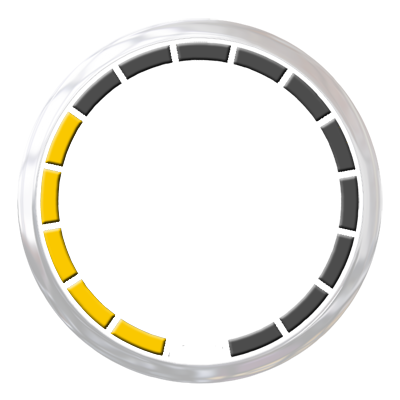
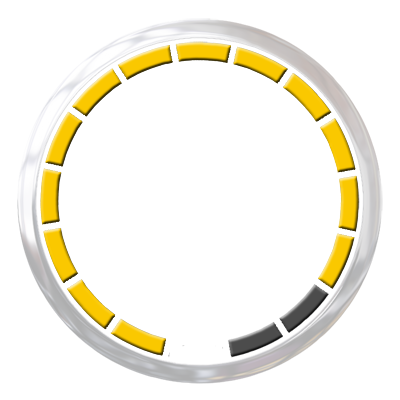
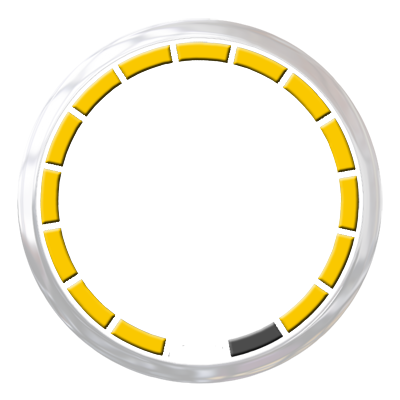
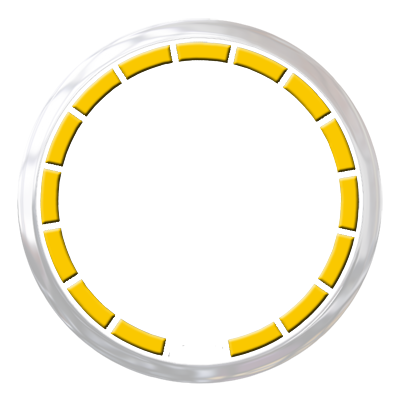
Original custom gauges I made from scratch in photoshop per my previous post (.sensorpanel file available there).


-
No worries. I amended my response. I will post the png files for it in a little bit.
-
LOL ok sorry, the post from Abso I based mine on was the background (the dark bit in the middle of the gauge), and the color and placement of the text within the gauge, which has nothing to do with yours, however Abso did not credit anyone. I presume this post of yours is what his outer gauge was based on, which is fairly clear. The similarity to my gauges is that it's a circle (like most gauges are) with 16 different states (like all gauges have) and perhaps because it has a bezel (like many gauges have), so it's a bit of a stretch to claim the gauge I made from scratch in photoshop is 'yours', but I'll edit my post above to acknowledge your claim, and I'll post my custom gauge states in .png for others to use. Cheers.
-
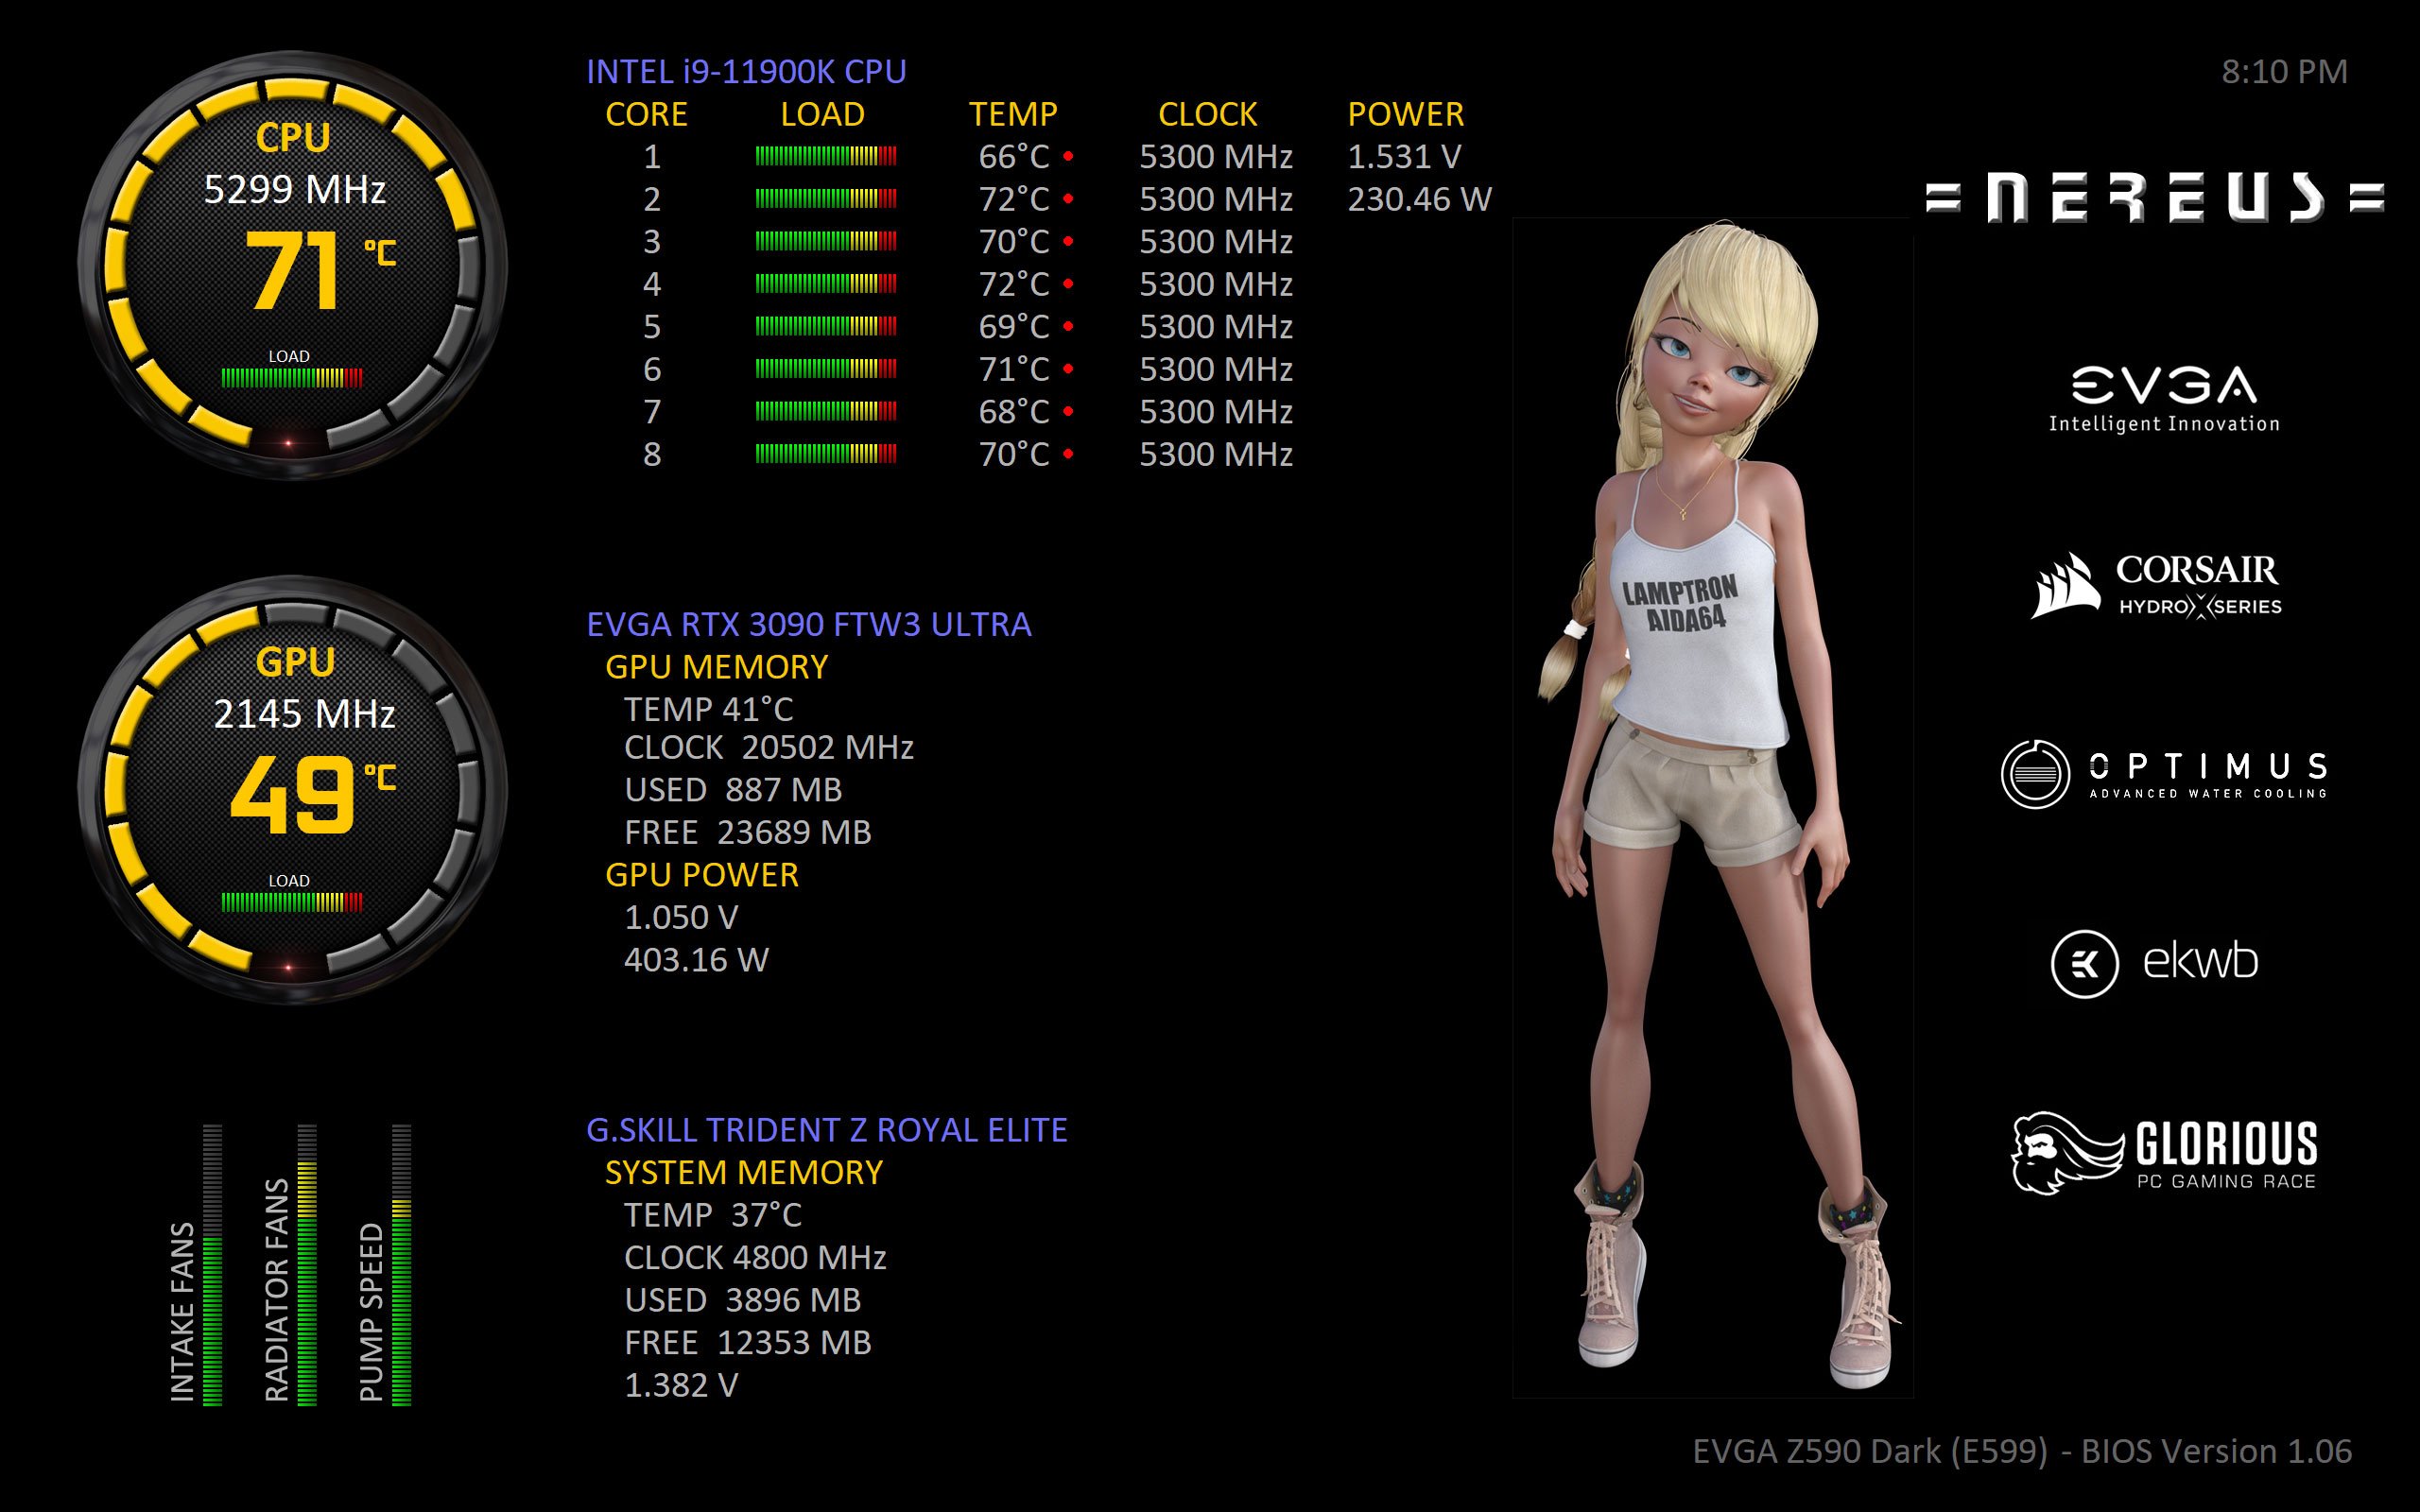
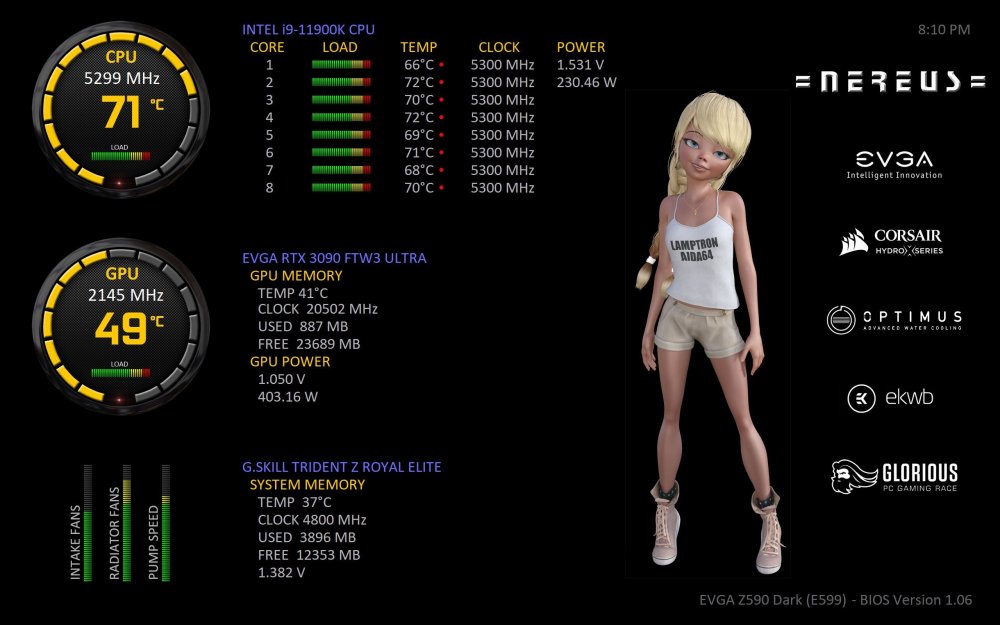
Here's my latest effort - idle and full load pics. Mostly just text. The girl I made in Daz3D, the load bars (horizontal and vertical for the fans) I made in photoshop from scratch, and the 2 custom gauges I also made completely from scratch in photoshop. The gauge background (the dark bit in the middle of the gauge) and yellow text color and placement in the gauge was based on someone else's design (Abso - last post on page 62) - so thanks Abso! I have since been advised by '1 PC Tip a Day' that Abso's gauge was based on his gauges in this post, which clearly the outer part was. The similarity to my gauges is that it's a circle (like most gauges are) with 16 different states (like all gauges have) and perhaps because it has a bezel (like many gauges have), so it's a bit of a stretch to claim the gauge I made from scratch in photoshop is his. I have posted the individual gauge states in .png format in this post if anyone wants to use them. You're welcome. The idea was to have an 'at a glance' display of temp and load for the CPU and GPU while gaming (which is the two gauges), and then the more detailed info available if I want to look longer, particularly when overclocking. I left out drive details and stuff like that to keep it from getting too cluttered. This is displayed on a Lamptron 10" panel with a 2560x1600 native resolution (and again THANK YOU to Lamptron for sending this to me!) I'll upload the .sensorpanel file, but it's a very high resolution for a 10" panel so you might have to scale things down in photoshop first if you want to use it. Unfortunately I have to tear down my rig tomorrow to RMA the motherboard - one of the DIMM slots has decided to quit, which is a pita because it's a full water loop, so I'll be restricted to a small 5 year old laptop for a couple of weeks. :/ nereus01-2560x1600_sensorpanel.a74c384a80c0918d4effdd86790b8501


-
I do not have GIMP. I suggest checking out tutorials on YouTube, Google, and possibly GIMP have their own user forums, unless someone else here uses GIMP and wants to donate their time.
-
Photoshop or GIMP (closest free software) for image creation. It's 16 images, not 15 (numbered from 0-15, not 1-15).
-
The one thing I really like with the rslcd method is that it displays in a browser window (hence the ability to use animated gifs), and you can send it through a local wifi network so you can display it on a tablet or phone. I used an old 6" Amazon Fire tablet for ages using this method - I posted on this forum here a few years ago if you want to check it out - pretty basic. The rslcd download is on this post.
-
They use AIDA64 specifically. They provide some samples with their panels, and frequently used the rslcd method rather than sensorpanel method (or at least they used to). The rslcd method allows the use of animated graphics, but you lose the 16 frame gauges and only have basic bar graphics instead.
-
Ahhhh ok, so it's an animated wallpaper using that Steam app, and the sensorpanel has a transparent background, is that how you did it? ..wait, nope, can't have transparent background. You're using sensorpanel not remote sensor, right? Hmm.. on further investigation, it looks you make AIDA64 partially transparent. Not going to work for what I had in mind.
-
Are you just using an animated gif as a background?
-
Looks like some white tape on the left of the display to hide the cables. Works pretty well.
-

Unable to detect G.Skill DIMM voltage (EVGA Z590 Dark)
Nereus replied to Nereus's topic in Hardware monitoring
So far so good, will do some more tests tonight, but certainly the DIMM voltage is there, lots of the VCC voltages, motherboard fan headers are showing, so far so good, thank you! Will update hopefully tonight. There is an AUX fan that keeps appearing intermittently, although on further investigation I think it might be the 'internal' twin PWM fans that are part of the Z590 Dark motherboard for cooling the VRM. -
Unable to detect G.Skill DIMM voltage (EVGA Z590 Dark)
Nereus replied to Nereus's topic in Hardware monitoring
Responded on pm. Thanks. -
Nice! We are rare.
-
I have a Lamptron HM101 which is a 10.1" IPS monitor - the one I have was sent to me direct from Lamptron (thanks!) and has an impressive 2560x1600 (16:10) native res, although apparently the HM101 is usually 1920x1080 (specs). I also have the Lamptron HM070 which is a 7" 1024x600 res. Lamptron made these with AIDA64 in mind. These are the same people who made very good fan controllers for years (and still do). They have a heap of other size monitors now too, including some touch screen models. Check them out. I've seen them on US sites like FrozenCPU and TitanRig, sometimes Amazon and EBay.. ymmv. My only problem now is that I have a new EVGA Z590 Dark motherboard, but it's so new that AIDA64 does not read any of the fan headers or the DIMM voltage. Waiting for an update.