


Rabbithole
-
Posts
68 -
Joined
-
Last visited
-
Days Won
15
Content Type
Profiles
Forums
Events
Everything posted by Rabbithole
-
Thanks, So tell me... how are you connecting your camera monitor? If it connects to your video card and your video card supports multiple monitors then all you need to do is go into the display settings and under multiple displays select "extend these displays" then drag the sensor panel into the desired monitor.
-
assign the gauge to an active sensor like your pump, then unclick on the show icon ect and you'll be left with just the gauge moving. As for the panel I see a lot of things you can do with it
-
Nice idea, looks good are you going to animate the center piece?
-
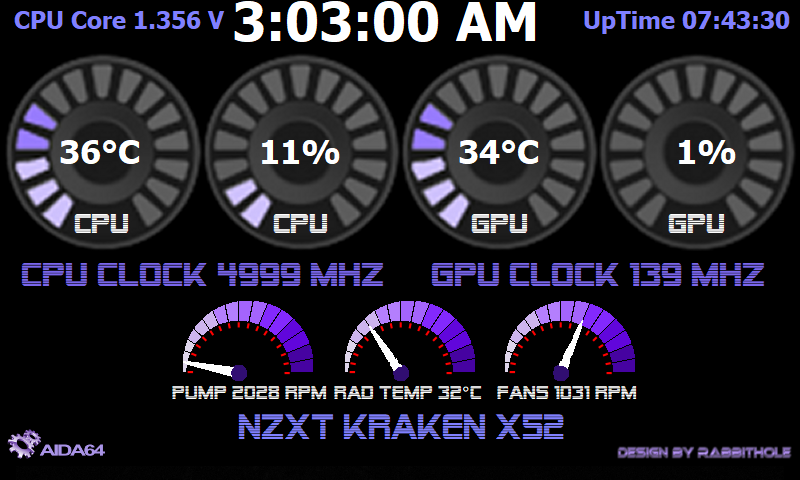
Although I have made some detailed panels that looked ok to me I have come to realize that because I'm using a 5" LCD as my panel monitor I can't see the sensors because everything is just way too small so I decided to use only what I think would be helpful to my situation this round. Thank you StealthDefender for helping me realize this I would also like to thank Stupe9968 for the killer gauge templates . My new panel (I'm still kinda messin with it) So I just finished my new long awaited rig, specs are as of the following: PC Name - Jedi Assassin Motherboard - Gigabyte GA Z370 Aorus Gaming 7 CPU - Intel i7-8700k @ 5.0 MHz, 1.350 V CPU Cooler - NZXT Kraken X52 RAM - G-Skill Trident Z RGB 16G (2x8) DDR4-3000 MHz 16-18-18-38 CR2 SSD - Samsung M.2 960 EVO 500 MB (Temp) Portable HDD - Seagate Expansion 2 TB GPU - Gigabyte GeForce GTX 1060 Aorus Extreme Gaming 6GB Main Monitor - Viotek GN34C 34" curved 3440 x 1440 100Hz + O.C. Sensor Panel Monitor - 5" LCD attached to case PSU - EVGA SuperNova 850 G2 Gold Case - Phantek Enthoo Pro 2x NZXT 5x USB hub Speakers - Logitech Z623 200watt 2.1 THX Certified LG Blu-Ray DVD/Burner FANS 5x 120mm Thermaltake Riing plus RGB 2x 120mm NZXT 2x 140mm Corsair High Volume Purple LED

-
Hey Stupe9968 ... THANK YOU!!! You know I make all kinds of guages and fans ect... but these ones are super cool and they match my new build perfectly. Thanks again. Hey I figured out how to "mock" an animation in the background of a panel design I'll show/give you some files if your interested...BTW ... um don't know why this is typing in bold?? Anyways I altered the color of this gauge to purple, if there's any color you want it in let me know and I'll be happy to make it for ya.....(almost done with the panel, will post soon) Peace man.....Rabbithole
-
Dude .... I love those purple and blue gauges on the bottom of your panel. Could you PLEASE send me a file with it?
-
Hi Stealth, nice panel man ... EZ 2 read, I finally finished my new build, I'm gonna have to limit myself to what I put on my panel (5" lcd) there's a lot of stuff to my new build and my eye's aren't so good...lol but I like what you did here. I get my new monitor Tuesday... 34" curved 1440 @ 100hz VA panel ... Whooo Hooo !
-
I like the gauges ... panel is easy to see/read too
-
aida64 does not support GIFs however I found a way to trick the software ... all you have to do is turn the gif into 16 slightly different png's and make it into a "gauge" then un-select the show value,icon ect. and assign it to sensor something that would make a "gauge" have a lot of movement ... look here https://www.dropbox.com/s/4hs9b6nzw2bcg9h/2018-01-11_00-39-51.mp4?dl=0 hope this helps you out... Rabbithole
-
I like your gauges across the top, nice build too
-
Here is what I think is the final rendition of my panel for my current (OLD) rig ... I can't really work on the panel for my new build till it's put together, but I might post a few ideas for it.
-
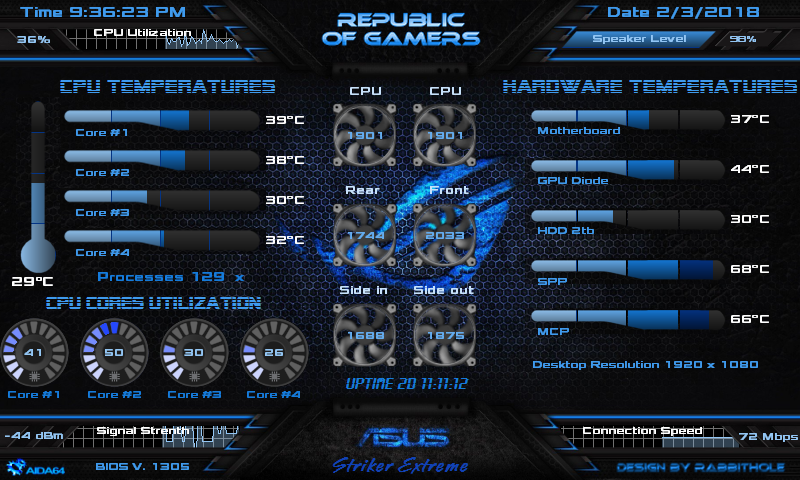
to get a signal for connection speed and signal strength you need to open the panel manager and click on the signal strength (both of them there are 2 one is a graph and one is a simple sensor item) then click modify find the signal strength tag in the list and click it so it resets to your wifi then hit ok. do this same thing for the connection speed as well. I actually have some fans that appear to spin but I'm still working out the bugs ... I will keep you informed and send you the files soon.
-
I think we're real close to finishing ... let me know...
-
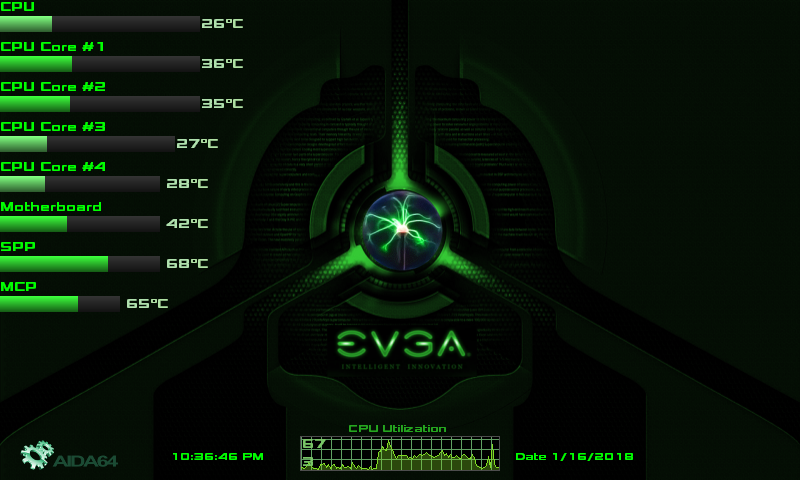
Here is how it's coming along ... the gauges will be in green (still have to make them) check your email and get back to me.... also the background file is in the zip file below. I am doing this for free so please keep my "branding" in the bottom lower right of the panel Red - MSI - background 2 test.zip
-
Hey man this is just an idea of what I have so far , I need a little more info from you like how many fans/water pumps are you going to monitor and just what you want to monitor in general so I have a little more to go on......I assumed red in color cause MSI is usually red....
-
Ok cool I'll see what I can come up with for ya we can fine tune it later on ...
-
Hello, at the moment my internet at home where all my files are is not working (centurylink sucks lol) so as soon as they get their sh*t together I would be happy to share. I compress to "zip" files and my gauges and stuff were designed to fit 800 x 480 res. if you need larger and want me to do it let me know also what background are you looking for? I have and can make lots....
-
For the fan gauges I assign the gauge to the fan setting. It's only the "background" animation that I assigned to cpu utilization.(because it's only for animation/movement purposes) So as for setting the values to a fan type gauge set the max value to whatever your fan rpm's top value is in your case I think you said it was 800 . Look to see where your fan's rpms hover when you monitor it then set the min value about 200 lower than whatever that is. My internet is not working right now so I can not send you the fan png yet but also I need to know what size you want it in (I think the ones I have shown you are 70 x 70) I am responding to you from my workplace on my tablet so I am not at my pc with all my information I will contact you again soon as I'm back on line
-
Here's another sample of the "mock" animation for the background, I'm still trying to dial it in but I wanted to show you another variation of whats possible. Here is the link to see it working ... https://www.dropbox.com/s/qrt7x7zcujvahio/2018-01-16_22-36-11.mp4?dl=0
-
Hello, yea I'm still messing with the details to make it look better ... I'm finding out on the fans that if I only use 3-4 different images and just repeat them I get more movement effect on the fans when the monitoring doesn't fluctuate much as in fan rpms even with pwm working. For the fans I have them set to the fans it's just the other "electric ball of light" that I have set to the cpu utilization. But also as you mentioned I think your right about playing with the "value" settings as well. I now have them set to (1600 min and 2000 max) and they seem to move a little better thanks. Here is a link to see how they are working now ....https://www.dropbox.com/s/wkzoxbbwnsgw1jv/2018-01-16_20-50-37.mp4?dl=0 At the moment I am waiting on a couple of fan grills for my side fans in/out so they are not hooked up but for "show" purposes in is actually front too and out is rear thats why the rpms are the same and for some reason my rear fan runs pretty steady at 1722 rpms without much movement. So what I propose is you just experiment with it and maybe together we can find what will work the best ... keep me posted .... thanks
-
kinda but what I did is I made the animation with only 3 images then repeated the 3 over and over till it made 16 images. That way it shows movement with very little variations from whatever it is you have it monitoring from and I've only just started messing with the idea so with trial and error I'm sure to find what to set it to ... so just play around with it and if you find a way to make it function better please share it with me. So I have been making all sorts of gauges , backgrounds, fans and such and I have a bunch of ASUS / ROG, EVGA and AORUS background/interface looking backgrounds and I can do them in any size and color so if there is anything you are looking for in particular let me know if I can assist you this gauge starts at top center and comes down both sides at the same time. this is an example of a red gauge almost at full
-
It's plug and play but yes it did come with a mini disk (not sure whats on it ... I think it's software for raspberryPI and it comes with the mounting kit for the raspberry PI as well....
-
no problem, the one I use has both the usb and hdmi and two ports for the usb , one makes it touch screen
-
When that happened to me (the lcd is black or the sensor panel i only half to view....) it was my screen resolution for my main screen that wasn't set to the game specs.
-
This is a 5" HDMI screen. I bought this one because it came with the frame and cables.After hooking it up to see how it would look I realized that if I were to mount it in my case like so many others do it might look cool but it would be totally non-functionable becase scince it is a LCD at that viewing angle I can't see the stuff on the screen because of the glare. So I made a bracket and it will be mounted to the upper right side of my case at the perfect angle to view it properly. It's made by a company called Waveshare and I bought it at amazon ... https://www.amazon.com/gp/product/B00ZXUTXCS/ref=oh_aui_detailpage_o06_s00?ie=UTF8&psc=1


