To those that have a USB connected BeadaPanel and want to use it as a Desktop Display, there is a driver for it now. Not sure if this applies to all the BeadaPanel USB Panel, but it works for the 6.8" 1280X480 panel.
Personally, I have to say the BeadaPanel 6.8" display is very nice. Clean, crisp, and bright. It is a little more expensive than other displays. But it 'works straight out of the box' using a USB connection, and enabling BeadaPanel in LCD settings. To further functionality, there is now a Windows Driver to enable it as a Desktop Display. If there is a downside to it, there are no built in mounting options, nor does it come with a case or enclosure. I had to fab my own mounts.
*****Please note: I am only a customer/user of BeadaPanel. If you find I have made a mistake, please let me know and I will correct it to ensure all info in this thread is correct. If I have missed something, let me know in a PM or reply, and I will add it. The original post will be updated continually.
- The Firmware upgrade (V7.01) allows the user to install a Windows Driver to enable the BeadaPanel to work as a Secondary Desktop Display.
- Prior to Firmware Upgrade or the Windows Driver install, shut down Aida64 and disable "Launch Aida64 at Startup". You can re-enable once completed.
I did the Firmware Flash and driver install. It was not all that painful as it looks. I had another member here private message me about how I went about it. To save some others a bit of grief, here is what I did and my observations. This is basically a copy and paste of my reply to that member.
The seller is the manufacturer or sole distributor as far as I can tell. I sent them an email and they replied with the instructions promptly. I will provide the links below.
I did the Firmware upgrade to V7.01. I followed the instructions given. The only thing that had me stumped was shorting J2-1 and J2-2. The instructions say to do it with the panel powered on. I did that but it did nothing until I unplugged it from the USB port and plugged it back in with it still shorted. Then it went into USB mode. I used a short piece of wire that just fit thru the 2 holes. J2-1 and J2-2 must remain shorted until Firmware flash is completed. I suggest powering BeadaPanel down before removing whatever you used to short J2-1 and J2-2.
The driver install was pretty straight forward. A bit of pissin around, but painless. Smoke a phatty first. For security, make sure you go back and enable Signed Drivers again when done. Unsigned drivers can contain malicious code. Even this was a bit sketchy in my books.
I also saved the old Firmware ROM in the event I want to revert back to it.
- Once you go the Driver route, you use SensorPanel / OSD instead of LCD in Aida64. The scaling is off big time between SensorPanel / OSD and LCD, so any existing panels you had will have to be reconfigured. Or just make a new one.
- Enable SensorPanel
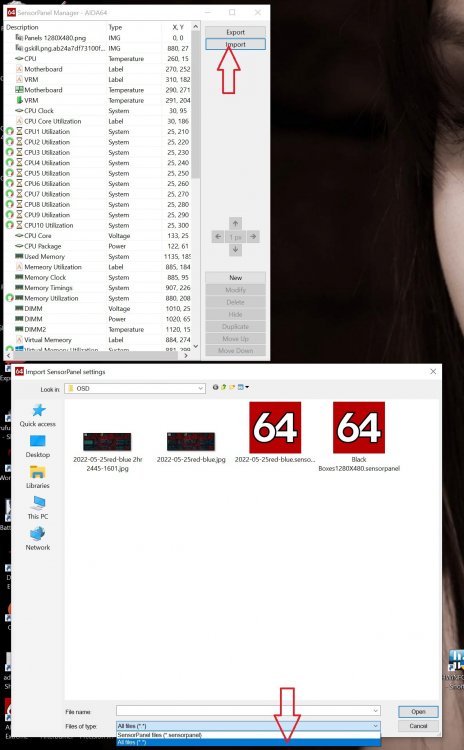
- Right Click the SensorPanel and select SensorPanel Manager to edit the panel. You can import custom panels or save your panel using the Import and Export buttons.
Also, once you install the driver, BeadaPanel wont be available to the LCD settings as it was. It is a full blown desktop display when using the driver. And you treat it as such in Aida64. Use SensorPanel / OSD.
BeadaPanel doesnt show up in NVIDIA Control Panel as a second display. But it does show in Windows 10 Display Settings. So use Windows to configure it, not the graphics driver. Not sure if this applies to AMD graphics cards as well.
****TIP: When designing/building your sensor panel, do it on your main display. If you don't, the SensorPanel Manager might become unusable because you cant see the title bar to move it or resize it. If this happens, click on the SensorPanel Manager to ensure it is in focus. Hit ALT+F4 on your keyboard and this will close the SensorPanel Manager window. Then slide the SensorPanel to your Main display and continue editing.
- Remove the taskbar from secondary display to free up more room for sensor panel goodies.
Right click the taskbar, then click Taskbar Settings. You can do this on either screen.
Scroll down to the Multiple Displays section. It's close to the bottom of the Taskbar settings, so keep scrolling.
Turn “Show taskbar on all displays” off. You should see the change take effect immediately.
- The BeadaPanel will power off when PC shuts down with V7.01 Firmware
- There is no more Photo Frame Feature with V7.01 once you install the Driver.
- With only updating the Firmware, I believe you can still add your own pics and videos as before with the software tool. I havent tried this with V7.01, so I am not sure. I could add my own pics with the original Firmware. Use BeadaTools11.exe to do this if Driver not installed.
This is a copy and paste from the email sent to me.
"BeadaPanel has a new firmware v7.01 released now.
Please follow this link for upgrading-->
https://elinux.org/INNOSTICK6#Do_provision_on_a_Windows_Host
And this link for firmware images-->
https://1drv.ms/u/s!ArGfiTxjUGUlgP4toRQBQqoI0hVaBA?e=85Pu45
This link for user guide of new firmware -->
https://1drv.ms/u/s!ArGfiTxjUGUlgP4TpExX7fXmRr-QRg?e=HHKzwR
Regards
Weidong"
I hope that helps. To try and keep all info updated in one post, I will edit this thread as required. And my time permits. This should make info easier to find in one thread/post.
EDIT:
- You can update the firmware only, or install the Windows driver as well. But to install the Windows Driver, you must Upgrade the Firmware to v7.01 first.
- I flashed the firmware and installed the driver concurrently. With that said, I am not sure if it was the Firmware or Driver that enabled the BeadaPanel to power off at PC shut down. Maybe beada can confirm.
- As I said above, I saved the original Firmware ROM that shipped with my BeadaPanel. I did this so I could revert back for whatever reason. You may want to as well.
- You may need to rotate the display 180 degrees after driver install.
- Set Portrait or Landscape orientation in Windows Display Settings. Not with the Graphics Driver.
- When moving apps (Aida64 SensorPanel) from main display to the BeadaPanel, slide across the upper corners of Display 1.
- For photo frame feature, you can check in BeadaPanel FAT32 partition to see if there are 'console' and 'album' folders. If not, pull them from onedriver. Use BeadaTools11.exe to do this. Prior to launching BeadaTools11, shut down Aida64 or any other app using the BeadaPanel . The BeadaPanel will be displayed as a USB drive in Windows Explorer. To exit, either unplug the BeadaPanel and plug back in, or right click on it in Windows Explorer and select 'Unmount'.
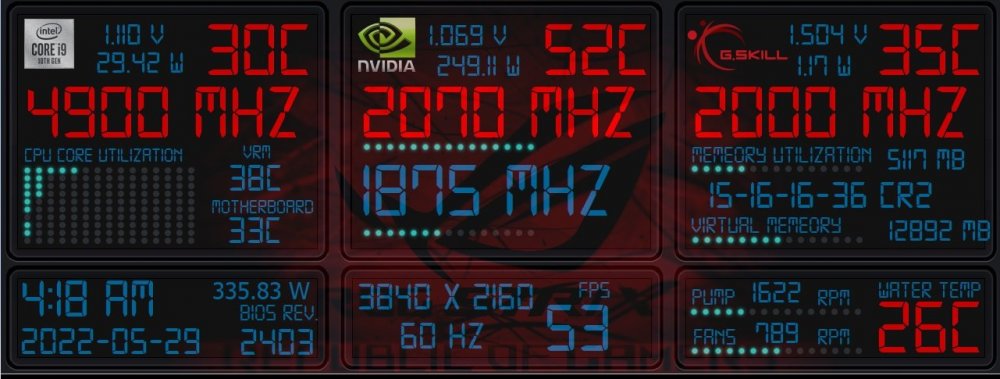
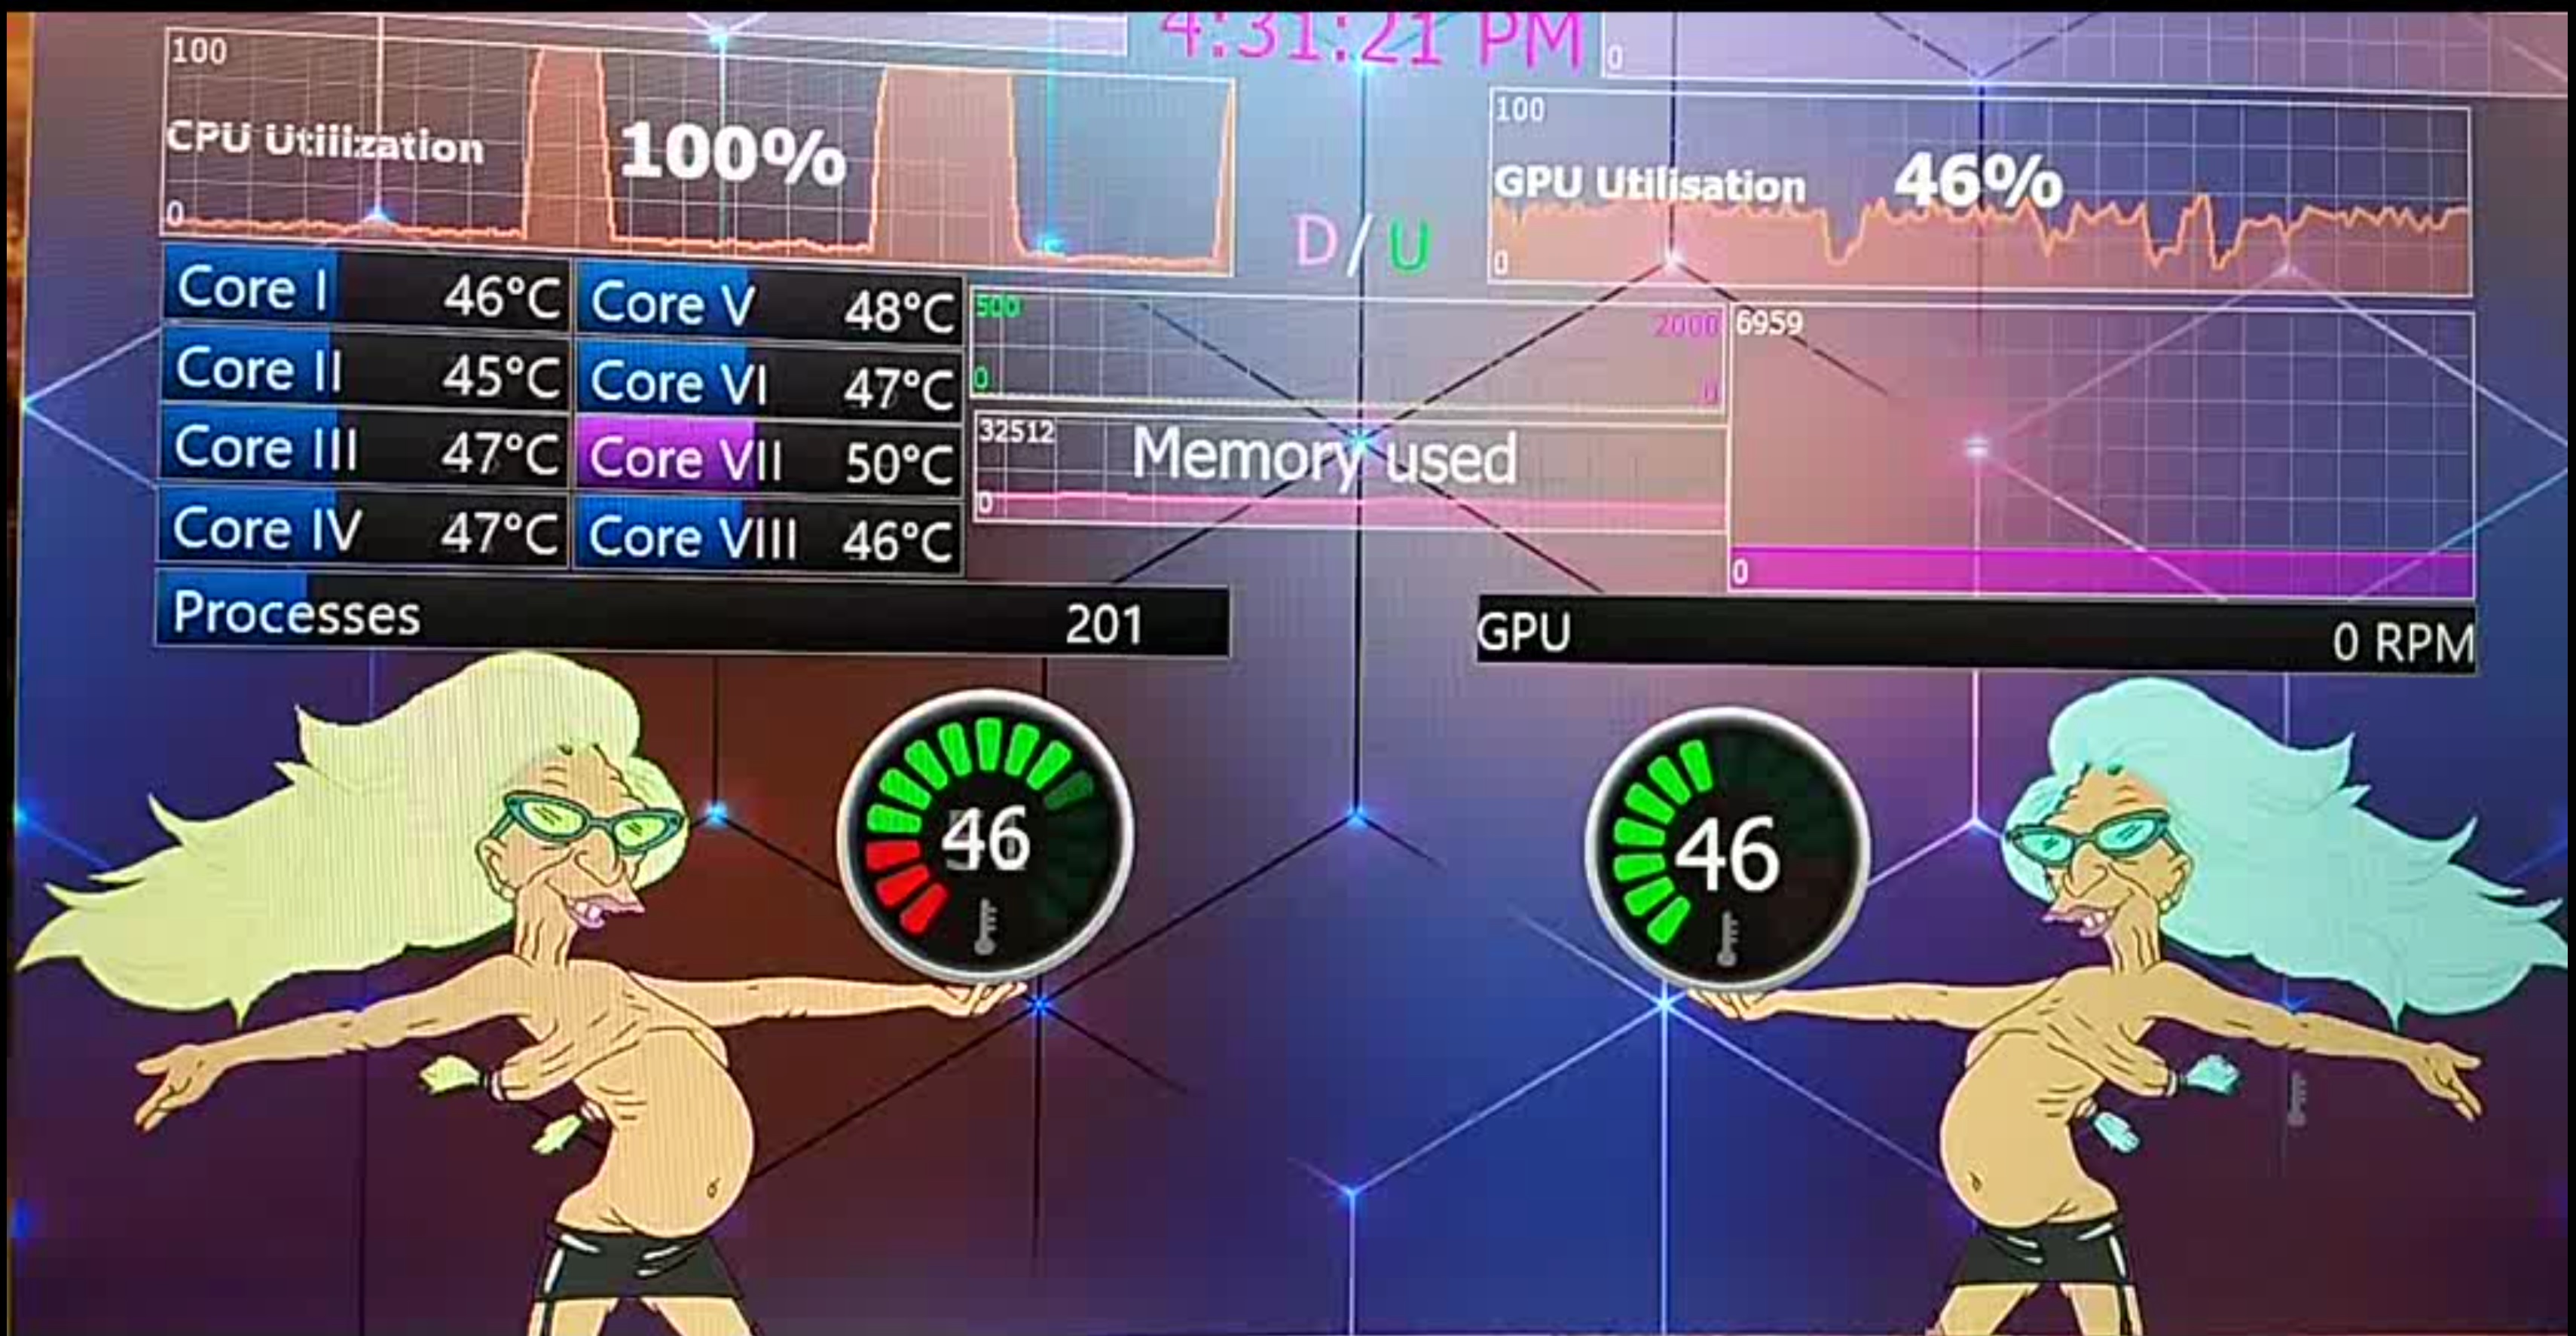
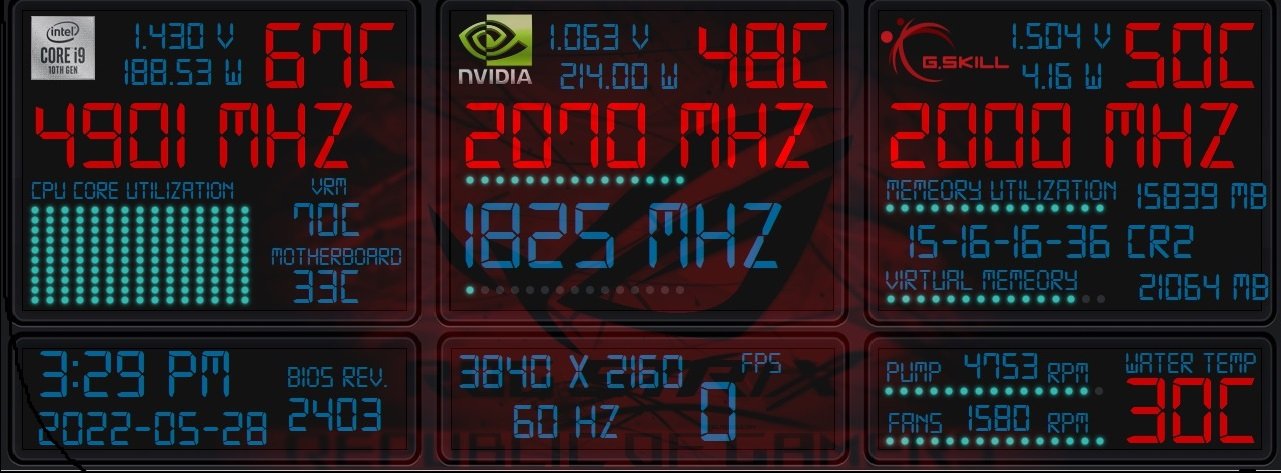
- Custom made Sensor Panels can be found in this thread, Share your SensorPanel. These sensor panels have been created by members here at Aida64. There is a lot of work, skills, and creativity that goes into creating some of these panels. PLEASE USE THESE PANELS FOR PERSONAL USE ONLY UNLESS EXPRESS CONSENT GIVEN FROM AUTHOR/ARTIST. If modifying or using elements from different panels, PLEASE GIVE CREDIT TO ORIGINAL AUTHOR. IF PUBLISHING HERE OR IN ANOTHER FORUM OR WEBSITE, PLEASE GIVE CREDIT TO ORIGINAL AUTHOR.