BHSY
-
Posts
168 -
Joined
-
Last visited
-
Days Won
29
Content Type
Profiles
Forums
Events
Everything posted by BHSY
-
 Update: After upgrading my memory RAM to 32GB, clock speed: CL30 (previously was CL40), the respond time for using the 'modify' button had improved while the Illustrator file still open. From 4-5 seconds to 2 seconds. My guess is as Adobe Illustrator performance becoming more demanding, a faster RAM speed is required. Thank you to @JariKoi for his advice and recommendation.
- 24 replies
-
- 1
-

-
- 7.50.7215 beta
- slow response time
- (and 3 more)
-
AIDA64 v7.65.7415 Beta SensorPanel export issue (SPZIP)
BHSY replied to BHSY's topic in General Discussion
I've replied to you via email. Thanks. -
AIDA64 v7.65.7415 Beta SensorPanel export issue (SPZIP)
BHSY replied to BHSY's topic in General Discussion
Correction. The 'enable the context menu' is to bring up the SensorPanel Manager, not for the sensor item(s). It's the sensor item(s) that I am unable to right-click to select the shortcut menu like edit, delete, or modify. -
AIDA64 v7.65.7415 Beta SensorPanel export issue (SPZIP)
BHSY replied to BHSY's topic in General Discussion
I love using the Alt-arrow key to move the items. Thanks👍. Oh yeah, I forgot about the 'enable the context menu'? So sorry. I must have accidentally disabled it😜. Thanks. -
AIDA64 v7.65.7415 Beta SensorPanel export issue (SPZIP)
BHSY replied to BHSY's topic in General Discussion
Thank you for the quick reply. Will the keyboard shortcut key for the directional button, the Alt-arrow key, still be included in the latest AIDA64 beta update? Also, right-clicking the mouse to bring up the shortcut menu was disabled. Will this be fixed too? -
Hi @Fiery I want to inform you that I updated the AIDA64 to 7.65.7415 beta and encountered a file export issue. Both from Net Update and the Beta file downloaded from your website. After I export my old sensor panel file as spzip, I import my other older file. When I want to import the spzip file, nothing happens. I tried to rename the spzip to zip file so that I could try to unzip the file but it prompts an error, 'The archive is corrupt'. Saving the file in .sensorpanel also wouldn't work. The keyboard shortcut Alt-arrow for the directional button works very well. So far, I haven't encountered other issues except for the spzip file. If the spzip file issue is resolved, can you implement 2 types of files for saving, .sensorpanel and .spzip?
-
SensorPanel Manager: Can we add more px in 1 px > 5 px > 10 px > 20 px?
BHSY replied to Surjeet's topic in General Discussion
I have just updated my AIDA64 from 7.64.7404 to 7.65.7415. Thank you @Fiery for implementing the keyboard shortcut key Alt+<arrow> to move the selected item(s), and it works well. Now, I don't need to keep clicking my mouse to move the item(s). Thank you so much. -
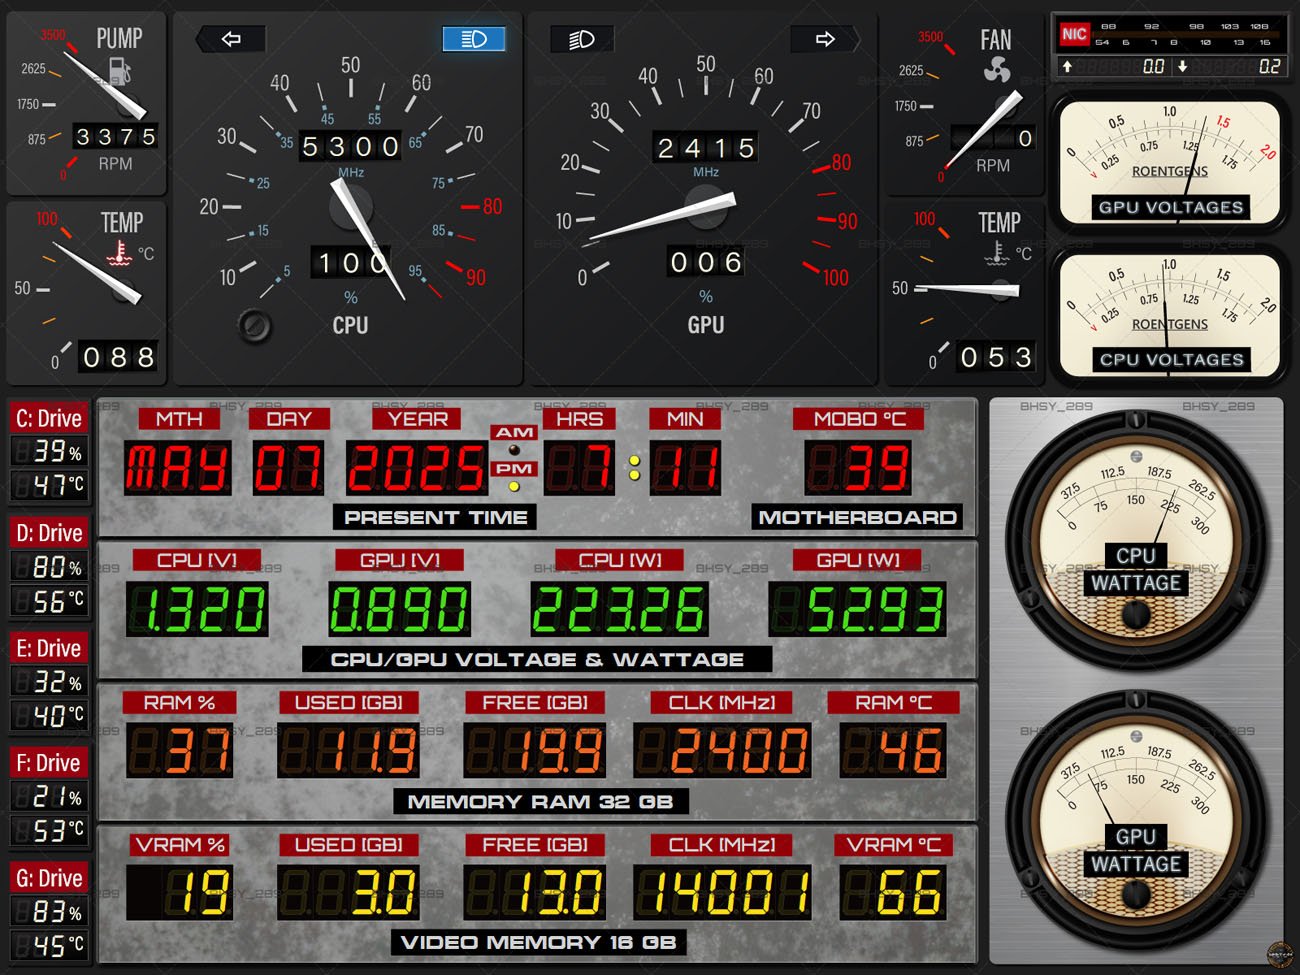
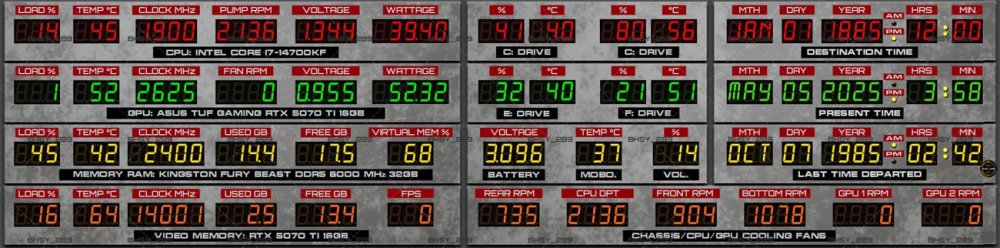
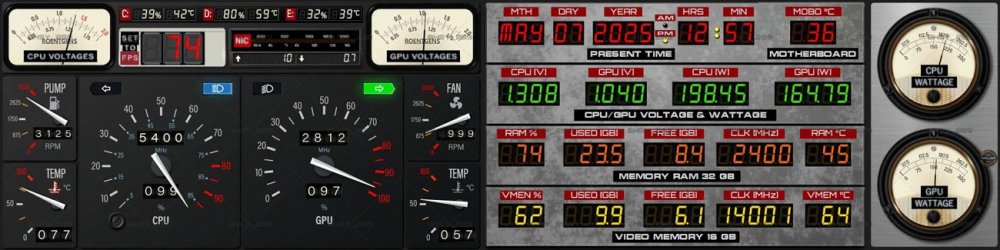
Back to the Future Sensor Panels 2 different panels available in 1920x480, 1920x515 and 1600x1200. The digital font and the dial gauge meter reading fonts were created for these panels. PANEL 1 All Dial gauge is based on the 'Back to the Future' DeLorean car gauge. FPS is based on the 'Back to the Future' speedometer Need to change Windows date format to MMM dd yyyy Only took about 2 seconds to save the file. 57_BHSY_B1.0-1920x480-BTTF.mp4 PANEL 2 'Destination Time' and 'Last time Departed' are 'static labels' that can be edited. PANEL 3 Like the panel --> Visit https://www.bhsysensorpanel.net/ for more info. and designs. Remember to enable the 'Follow preferences' from the top page of this forum to receive the latest panel updates.

-
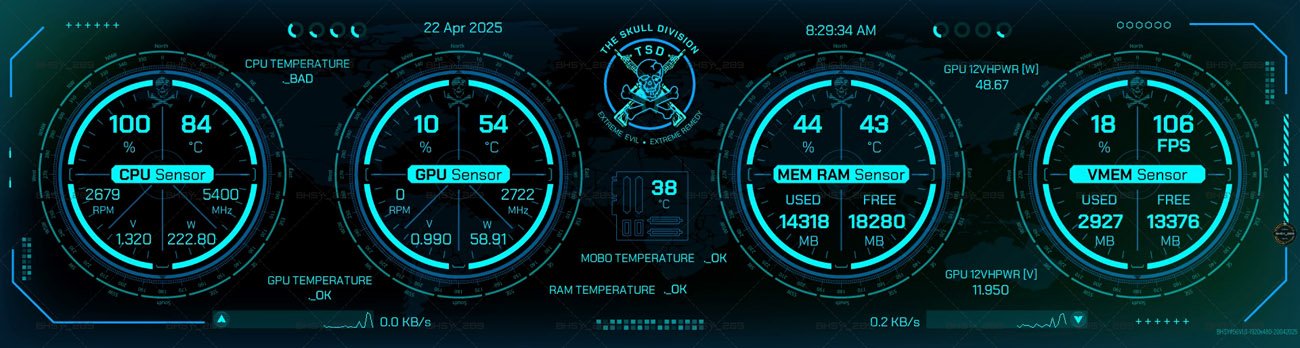
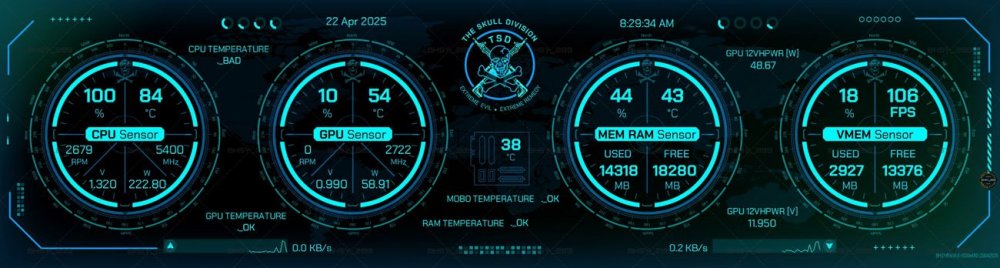
THE SKULL DIVISION PANEL 5 colours ready make skins available in 1920x480 / 1920x515. Contact us to request a different colour. Under normal load, the bullets and the blocks images changed 56_BHSY-V1.0-1920x515-20042025-BRIGHT-AQUA.mp4 Like the panel --> Visit https://www.bhsysensorpanel.net/ for more info. and designs. Remember to enable the 'Follow preferences' from the top page of the forum
-
I think the long loading time for the modify option was caused by waking up from Windows 11 sleep mode and low power management. I restarted my PC and I have set the Power management mode to maximum performance from the Nvidia control panel. Now the loading time is close to 2 seconds. I will monitor it and see if the modify option is still having a long loading time. @Fiery
-
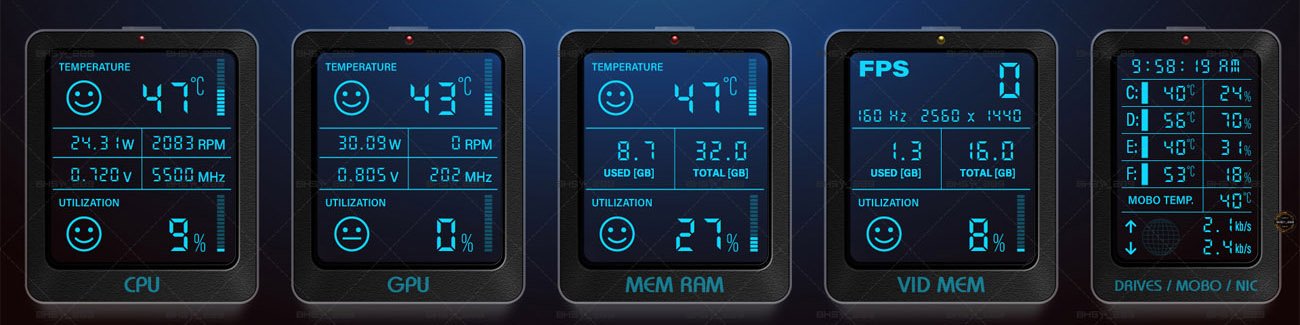
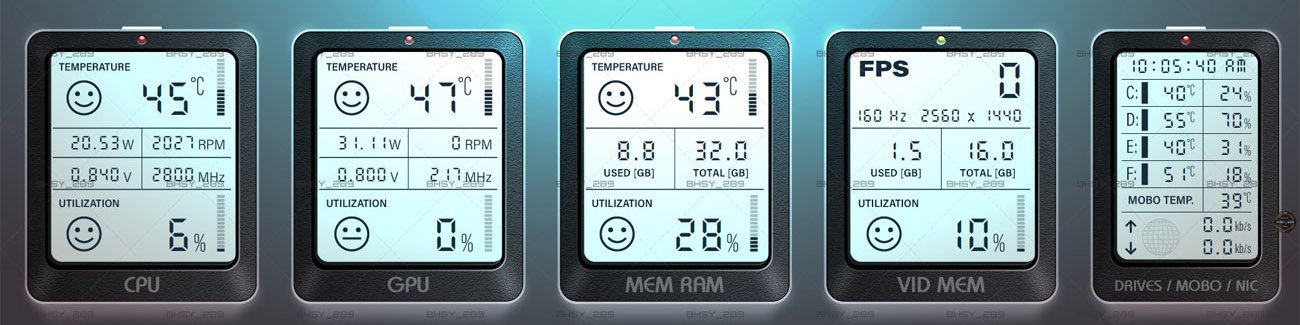
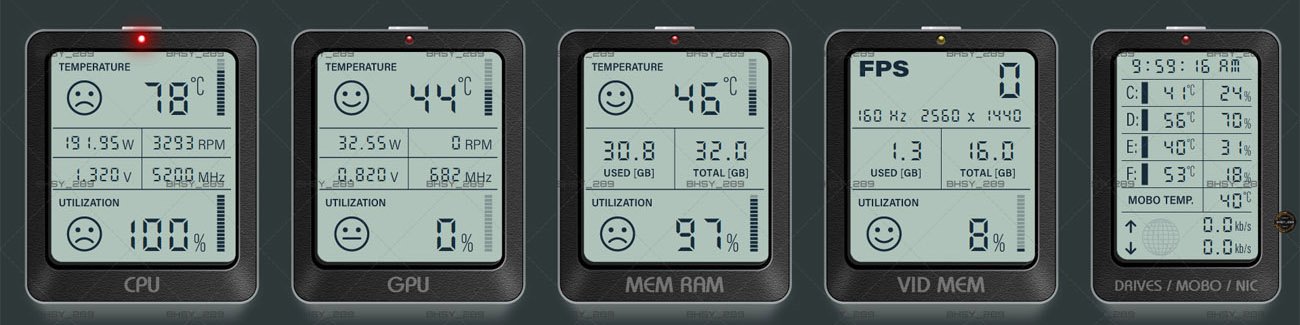
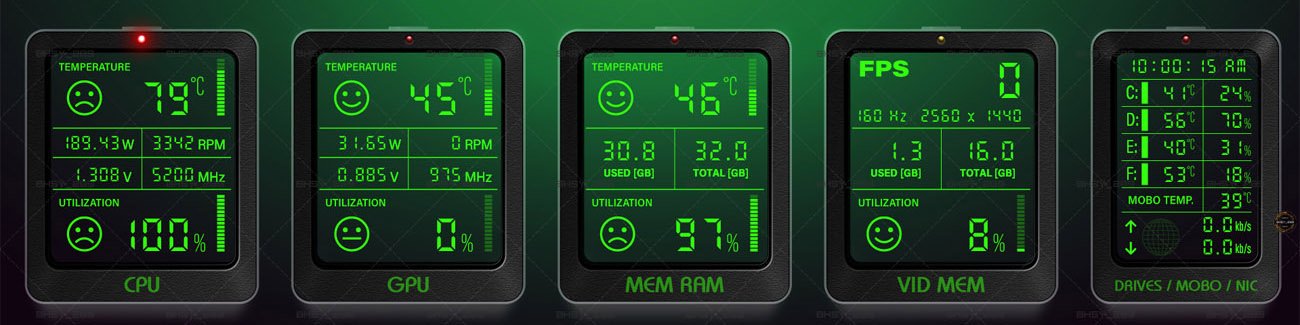
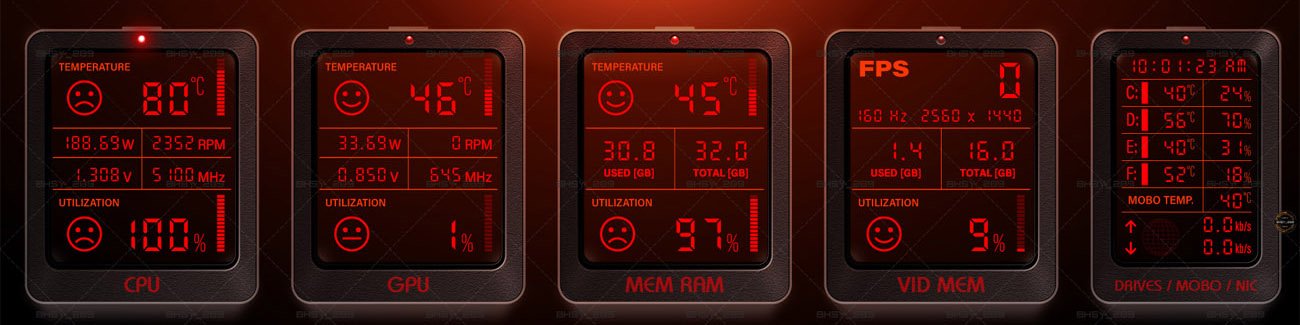
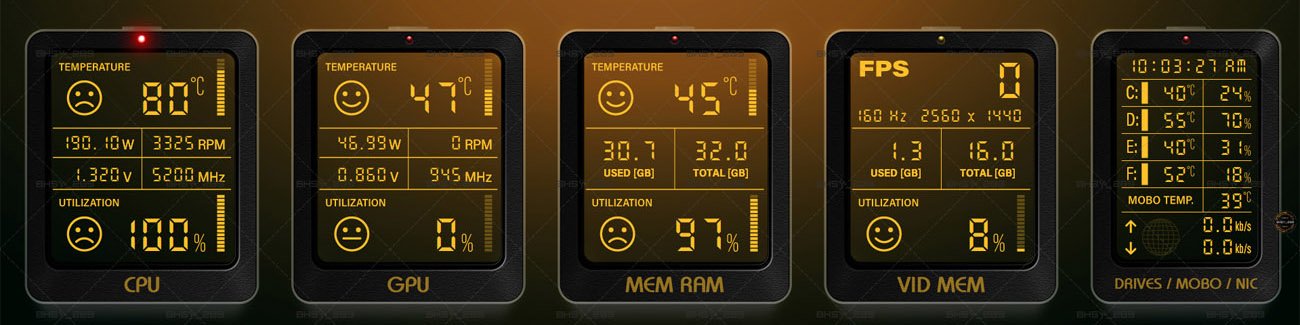
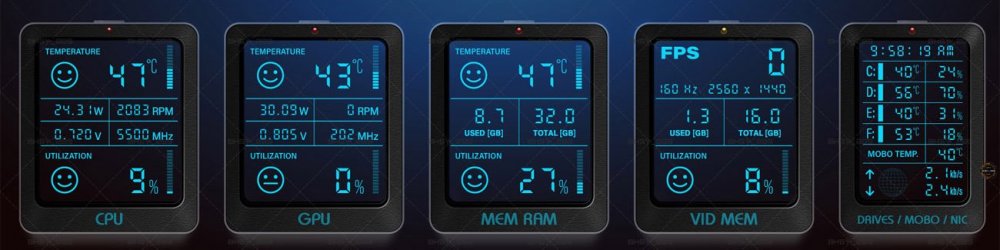
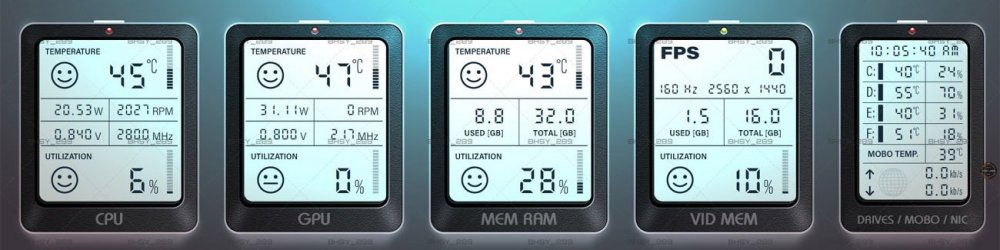
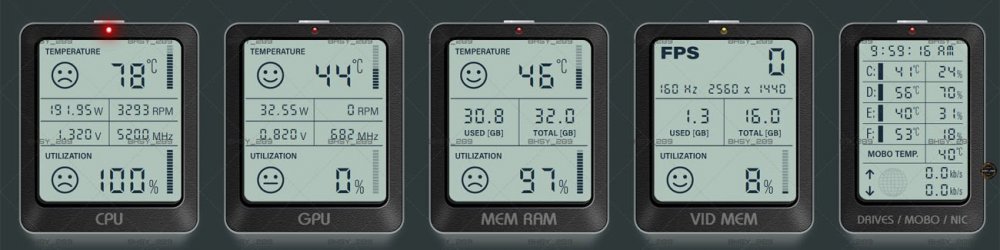
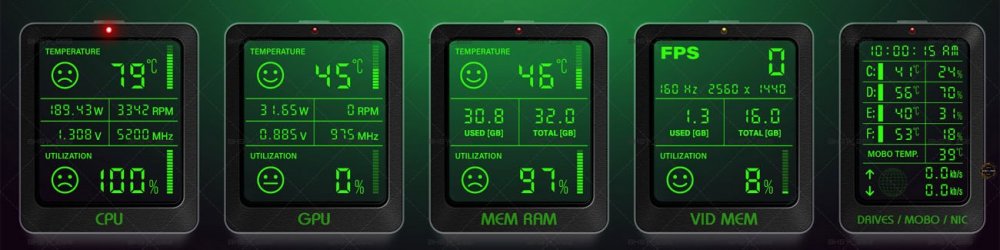
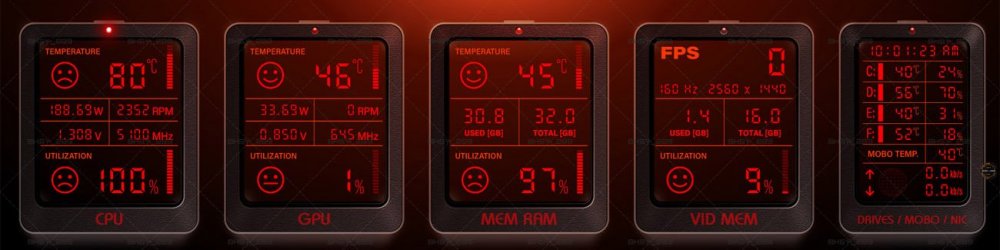
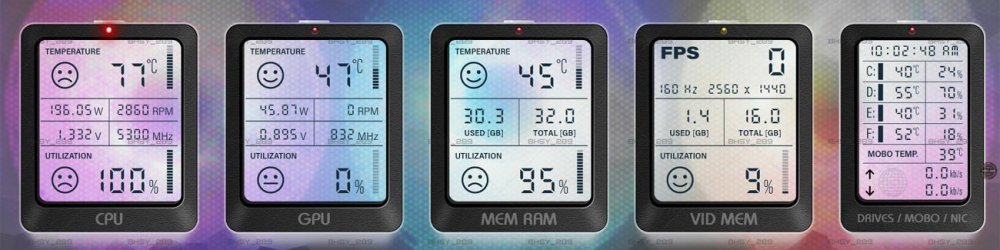
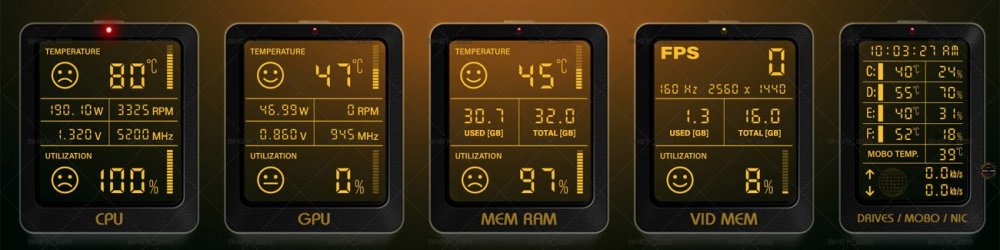
EMOJI Sensor Panel 🙂☹️😐 Ready-to-use skin available in 1920x480 / 1920x515. 7 colours to choose from. Contact us to request a different colour. Only the GPU emoji will change from a neutral to a smiling emoji when it reaches around 80%-100% usage (this means your GPU is fully utilising its full potential while gaming). 55_1920x515_blue.mp4 Like the panel --> Visit https://www.bhsysensorpanel.net/ for more info. and designs. Remember to enable the 'Follow preferences' from the top page of the forum
-
Hi Fiery, I'm still getting a slow response from the modify button. It still takes about 4-5 seconds to respond. Can you try to fix it in the next update? Thanks. @Fiery
-
SensorPanel Manager: Can we add more px in 1 px > 5 px > 10 px > 20 px?
BHSY replied to Surjeet's topic in General Discussion
Thank you so much!🙏. Looking forward to the next update. -
SensorPanel Manager: Can we add more px in 1 px > 5 px > 10 px > 20 px?
BHSY replied to Surjeet's topic in General Discussion
Is it possbile for you to implement a hot key or a built in for the directional button using keyboard arrow keys to move sensors, images and labels instead of clicking the direction buttons? Thanks. @Fiery -
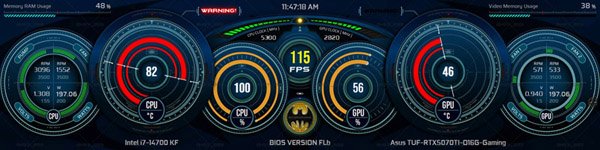
BAT SENSOR PANEL: Ready-to-use skin available in 1920x480 / 1920x515. The CPU/GPU gauges are based on the 'Batman Ninja vs. Yakuza League' Batplane gauges. Zip file size: 4.11 MB SensorPanel file size: 6.98 MB Sensors: CPU utilization, temperature, clock, voltage, wattage, pump and fan. GPU utilization, temperature, clock, voltage, wattage, fan 1 and fan 2. FPS Memory RAM and Video Memory usage. Time, CPU/GPU model and BIOS. Visit https://www.bhsysensorpanel.net/ for more info. and designs. Remember to enable the 'Follow preferences' from the top page of the forum
-
SensorPanel Manager: Can we add more px in 1 px > 5 px > 10 px > 20 px?
BHSY replied to Surjeet's topic in General Discussion
A pity. Thanks for the reply. -
SensorPanel Manager: Can we add more px in 1 px > 5 px > 10 px > 20 px?
BHSY replied to Surjeet's topic in General Discussion
It would be great if we could add the px we want in the box, like 0.1 px, so that we can align the gauges to their required position more accurately. Is it possible for 0.1 px? -
SensorPanel Manager: Can we add more px in 1 px > 5 px > 10 px > 20 px?
BHSY replied to Surjeet's topic in General Discussion
It would be great if we could add the px we want in the box, like 0.1 px, so that we can align the gauges to their required position more accurately. Is it possible? -
I've downloaded the latest v7.65, the Block Based duplication works like a charm🤩. Thank you for implementing it, and thank you, @COSTAJUNIOR , for the suggestion to fix the Sensor Duplication Order👍.
-
Can't wait! Thank you so much!😊
-
This is my USB dump. My device is connected to a 9-pin USB header (COM3). I just saw the post you submitted to Fiery 3 hrs ago, I hope they have a solution to your problem soon.
-
Have you tried connecting your device directly to the 9-pin USB header on your motherboard instead of using NZXT Hub? As I mentioned in my previous post, you also need to "Exit the software and turn off the device" before enabling the Turing LCD support in the AIDA64 preferences.
-
Mine is an 8.8" 1920 x 480. I guess my device's USB type C port is faulty; even changing to a different type C data cable was unable to connect. I tried it on my data hub, and I was also unable to connect too. Luckily, the 9-PIN works, if not become trash. Oh well, mounting the device in the PC case is also not bad, hiding the cable. Use it as a decoration sensor panel😁. I also can use it to test if the sensor readout fonts are too small to read from my siting position when designing the panel skins😁.
-
Thanks Loyd. My device type C connection was connected directly to my system port, not a hub. Many people have problems using USB type C to connect. The only way for the device to work is by connecting it to a 9-pin USB header.