BHSY
-
Posts
303 -
Joined
-
Days Won
57
Content Type
Profiles
Forums
Events
Everything posted by BHSY
-
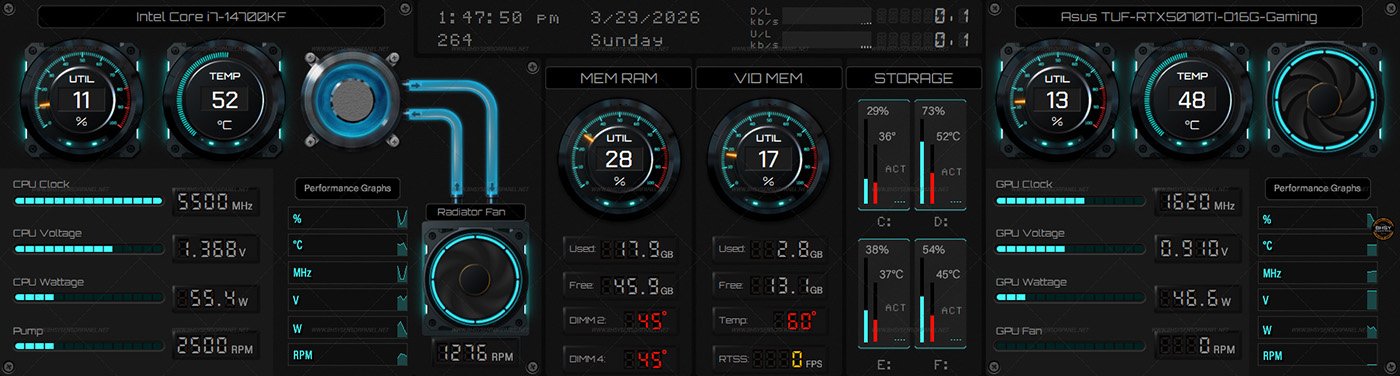
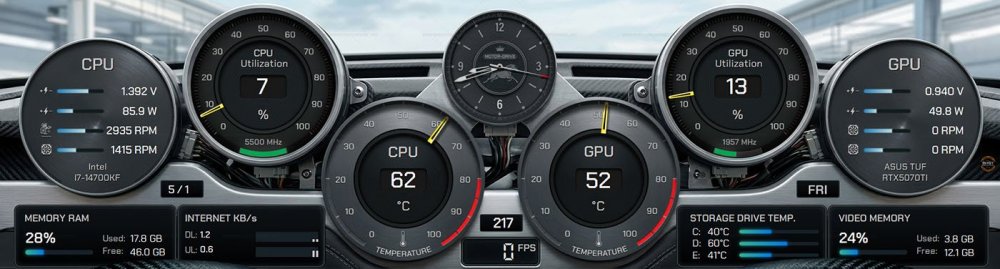
#77 - ThrottleSync Ready size: 1920x480 /1920x515 / 2560x720 / 515x1920 / 720x2560 Experience performance like a dashboard. Our automotive-inspired sensor panel transforms CPU, GPU, RAM, storage, and network stats into a sleek, gauge-style interface. With industrial visuals and dynamic design, system health feels alive—like watching an engine roar. Perfect for gamers, creators, and tuners who demand both style and substance. This isn’t just monitoring—it’s motordrive for your machine. The AIDA64 file provides two selectable background images for use in the sensor panel The package includes two files: the AIDA64 file (.spzip) and the SynQPanel file (.sqx). Video display functionality requires SynQPanel, which is not supported on Turing Smart Devices. The SynQpanel file is provided free of charge as a bonus. Visit BHSYSensorPanel for more info. and designs
-
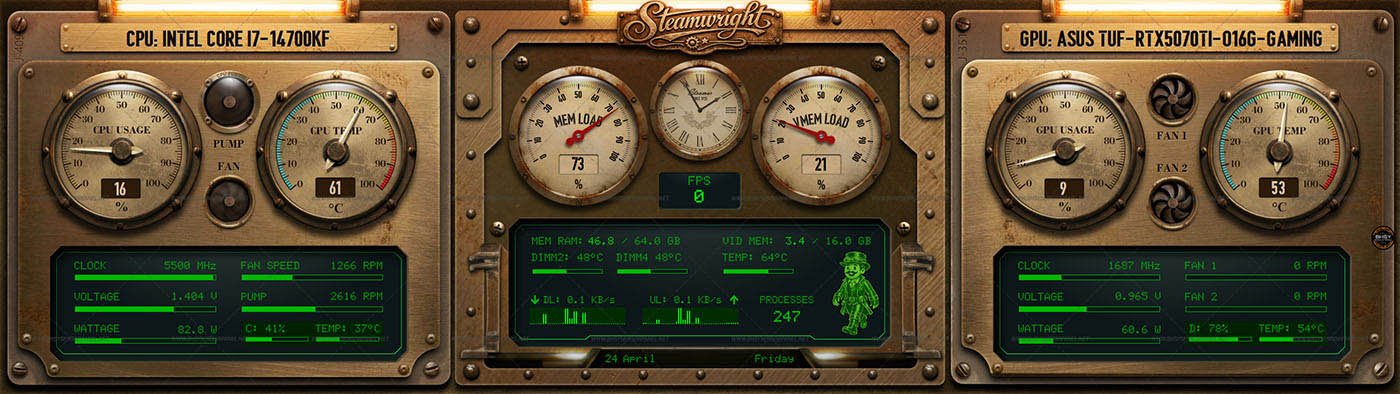
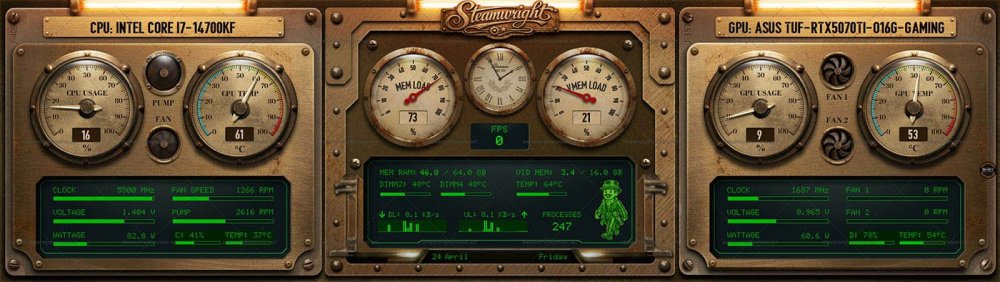
#78 - Steamwright Panel Ready size: 1280x800 / 1920x480 / 1920x515 / 2560x720 / 515x1920 / 720x2560 Visit BHSYSensorPanel for more info. and designs
-
🚀 Introducing SynQPanel - A New Panel-Based Visualization Tool for AIDA64 Users
BHSY replied to GaHile's topic in SensorPanel
Hi GaHile, it’s been a month since we last heard from you.🥺 I hope you’re doing well. Have you set the project aside for now, or has work kept you busy? It would be great to hear from you whenever you can. -
Thank you for the new AIDA64 FPS feature; it works perfectly on my end. We no longer have to rely on RTSS, one less program running in the Windows background. 👍 The new AIDA64 FPS continues to display the frame rate even when I open my browser with the game still running. 👍
-
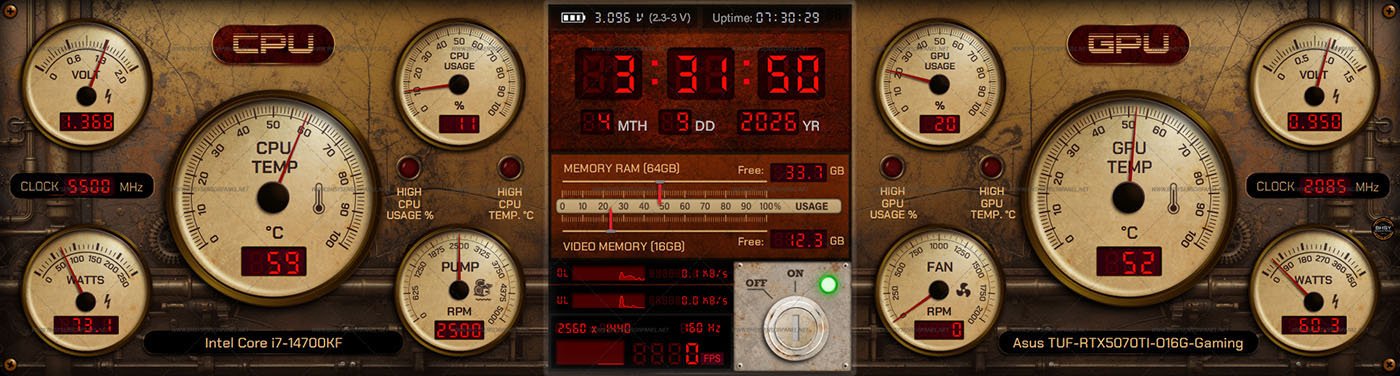
21A - Steampunk Ready size: 1920x480 / 1920x515 / 2560x720 For other widescreen sizes, please PM me or use the contact form on the website. Visit BHSYSensorPanel for more info. and designs

-
76 - SysVitals Ready size: 1920x480 / 1920x515 / 2560x720 / 515x1920 / 720x2560 For other widescreen sizes, please PM me or use the contact form on the website. Visit BHSYSensorPanel for more info. and designs

-
🚀 Introducing SynQPanel - A New Panel-Based Visualization Tool for AIDA64 Users
BHSY replied to GaHile's topic in SensorPanel
Oh Wow! 😍 This Butter Glide Dynamics is a huge game-changer. I love it. Awaiting for your next update. -
🚀 Introducing SynQPanel - A New Panel-Based Visualization Tool for AIDA64 Users
BHSY replied to GaHile's topic in SensorPanel
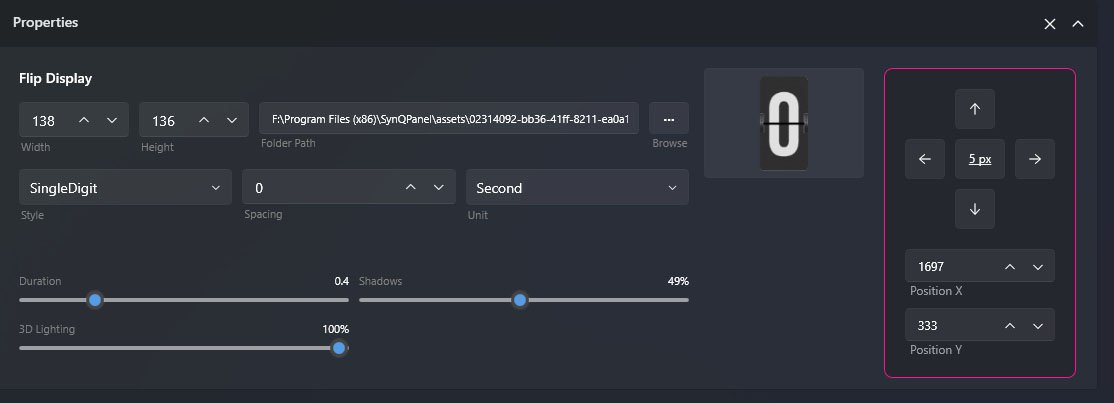
Thank you, GaHile, and well done for getting the flip‑clock feature working.👍 It's not a fancy design, but I’ve put together a simple 1920x515 flip‑clock with a weather forecast panel for my personal use. Now, I have my fancy system stats sensor panel (2560x720) underneath my monitor and a weather forecast with a flip-clock panel inside my PC case. 💪 Today's weather will be very hot, and the humidity is always high. ☹️ Note: The month, day, and week use normal custom gauge sensors.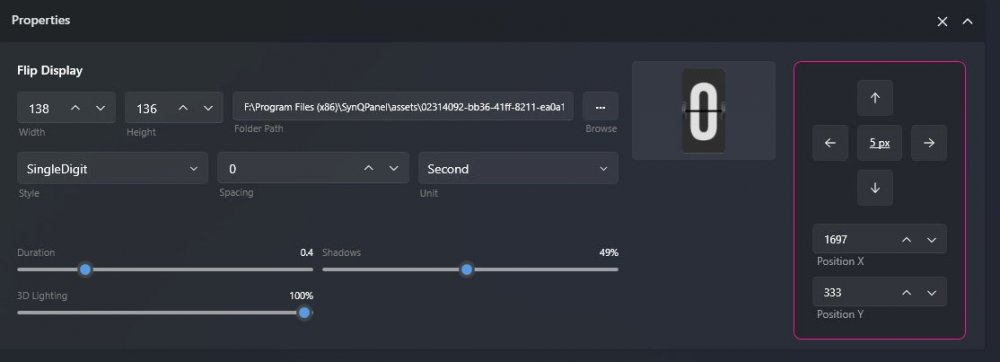
-
Sorry, this content is no longer available.
-
🚀 Introducing SynQPanel - A New Panel-Based Visualization Tool for AIDA64 Users
BHSY replied to GaHile's topic in SensorPanel
Updated my Realtek network adapter yesterday. Now, the Primary IP Address and External IP Address no longer cause the issue. It all started with the Windows latest update. Anyone facing this issue, please update your Network adapter to the latest driver version. -
🚀 Introducing SynQPanel - A New Panel-Based Visualization Tool for AIDA64 Users
BHSY replied to GaHile's topic in SensorPanel
I prefer the one on the right; it feels more like a true flip mechanism. 👍 -
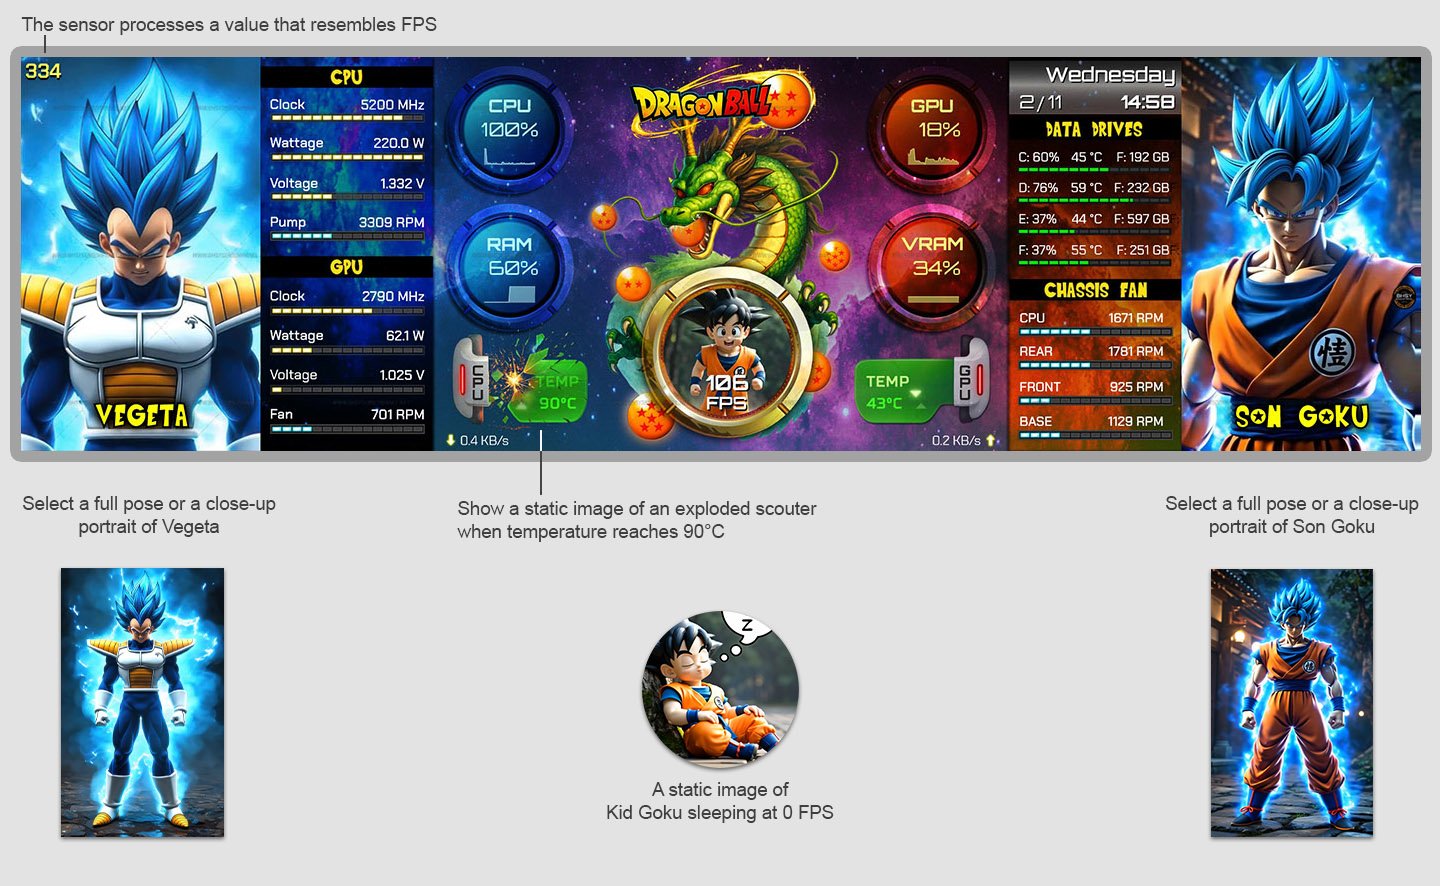
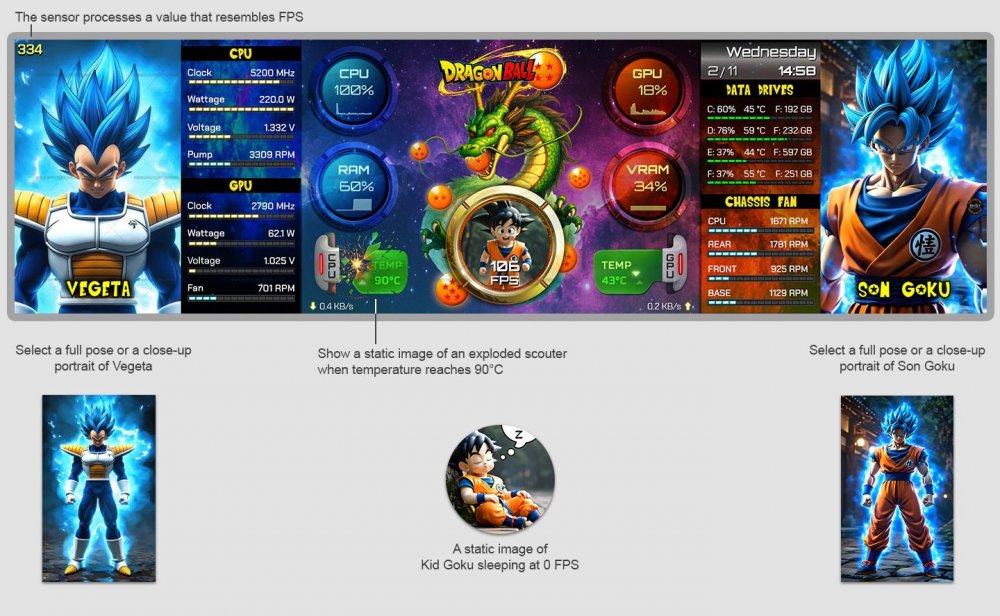
75 - DRAGON BALL Available sizes: 1920x480 / 1920x515 / 2560x720 Video: https://youtu.be/fpE2MdHLhFQ This panel is made up of two files: an AIDA64 .spzip file and a SynQPanel .sqx file, which handles GIFs and videos. You can use a still image with AIDA64 or animated videos and GIFs with SynQPanel. Click the video link to view the animation. To install SynQPanel, please use the link provided below: https://forums.aida64.com/topic/22019-🚀-introducing-synqpanel-a-new-panel-based-visualization-tool-for-aida64-users/ https://github.com/sursingh-hub/SynQPanel/releases For other widescreen sizes, please PM me or use the contact form on the website. Note: The characters, dragon, and scouters were generated using an AI tool.
-
74 - NeonFlux Ready size: 1280x800 / 1920x480 / 1920x515 / 2560x720 / 515x1920 / 720x2560 For other widescreen sizes, please PM me or use the contact form on the website. Visit BHSYSensorPanel for more info. and designs
-
🚀 Introducing SynQPanel - A New Panel-Based Visualization Tool for AIDA64 Users
BHSY replied to GaHile's topic in SensorPanel
The 1st half of the flip looks fantastic, and the execution is super clean! 🩷 -
🚀 Introducing SynQPanel - A New Panel-Based Visualization Tool for AIDA64 Users
BHSY replied to GaHile's topic in SensorPanel
A showcase of my latest Sensor Panel, using SynQPanel to import AIDA64’s SensorPanel file and enhance it with animated visuals, featuring a fan that spins in sync with real-time speed and a rotating arc GIF.😊 -
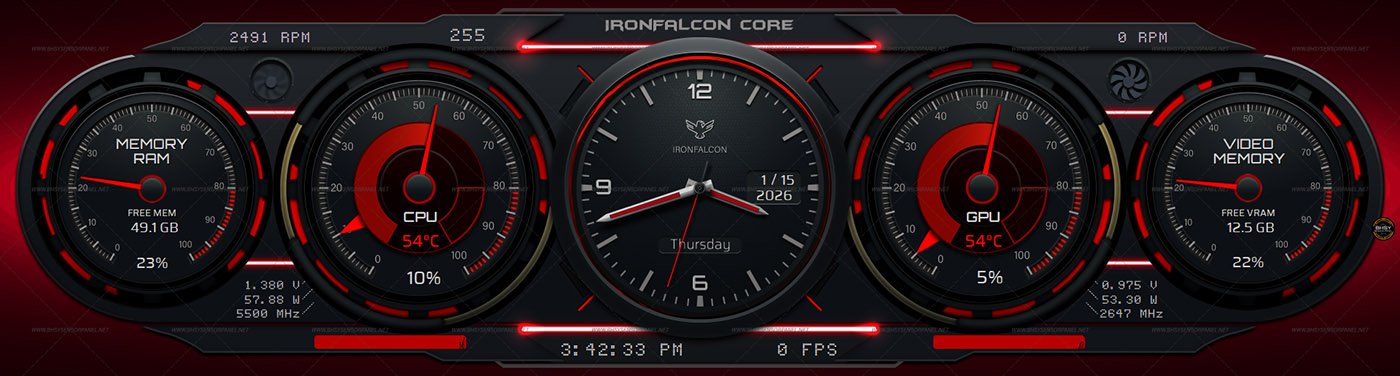
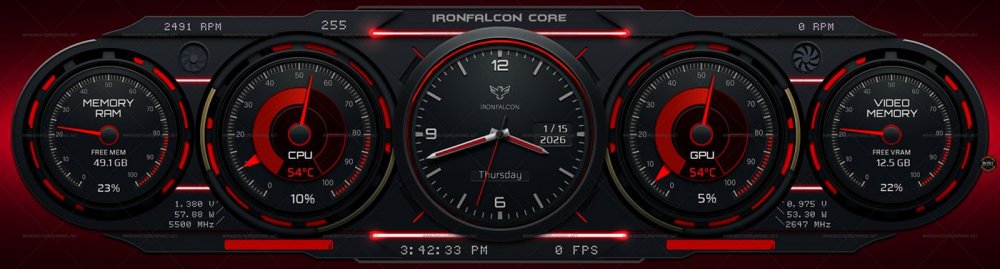
73 - IronFalconCore Available sizes: 1920x480 / 1920x515 / 2560x720 / 3840x1100 / 480x1920 / 515x1920 / 720x2560 / 1100x3840. For other sizes, please PM me or use the contact form on the website. https://youtu.be/D9bPYESKOdY Visit BHSYSensorPanel for more info. and designs
-
🚀 Introducing SynQPanel - A New Panel-Based Visualization Tool for AIDA64 Users
BHSY replied to GaHile's topic in SensorPanel
Hi GaHile, so far, I’ve run into one issue: the font style isn’t working. I tested with a common font, Arial, selected Bold, and Italic, but nothing changed. The same problem occurs with other fonts as well.😟 The right‑click actions and the close‑to‑tray feature are working perfectly. 👍 Regarding $LABEL, no issue when I import a new .spzip panel. However, my existing .sqx panel with no name label was not updated. I need to reimport the .spzip panel and re-add the videos. Is there any way to update it from SynQPanel? One question: if I changed to a new CPU, will $LABEL automatically update with the new processor name? I assume it will, since SynQPanel shares memory with AIDA. Thanks. -
🚀 Introducing SynQPanel - A New Panel-Based Visualization Tool for AIDA64 Users
BHSY replied to GaHile's topic in SensorPanel
Many thanks to GaHile for the prompt response and for resolving the issues I faced. 🙏💖🥰 I integrated a K.I.T.T. voice video and created a custom LED sensor light animation for my existing sensor panel using SynQPanel. Now the sensor light moves faster than my previous one, and I don't have to use a 3rd-party frameless video.💪 -
72-SYSOPS Available in 1280x800 | 1920x480 | 1920x515 For other sizes, please PM me. Visit BHSYSensorPanel for more info. and designs.
-
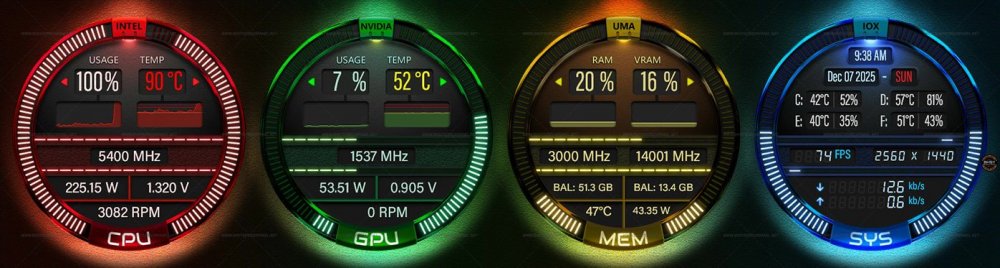
71-New Quadsight 2.0 Available in 1920x480 | 1920x515 | 2560x720 | 480x1920 | 515x1920 | 720x2560. For other widescreen sizes, please PM me or use the contact form on the website. Labels such as INTEL, NVIDIA, UMA, IOX, Drive letter, FPS, and kb/s can be modified. UMA - UNIFIED MEMORY ARCHITECTURE IOX - INPUT/OUTPUT EXECUTIVE Visit BHSYSensorPanel for more info. and designs.
-
The panel positioning issue is most likely caused by display scaling mismatch or monitor enumeration changes during boot can cause AIDA64’s SensorPanel to load on the wrong screen. Graphics driver resets, remote desktop sessions, or monitor sleep/wake cycles may also trigger this behavior. Fix you can try: Set your sensor panel display as the primary monitor temporarily, then reposition the panel and revert the primary setting. Ensure Display Scaling is consistent across monitors. (which I'm sure not possible for some us using 4k monitor) Disable Fast Startup in Windows Power Options (sometimes helps with monitor enumeration issues). Go to Control Panel and select Power Options. On the left sidebar, click Choose what the power buttons do Click Change settings that are currently unavailable (you may need admin rights) Under Shutdown settings, uncheck Turn on fast startup (recommended) Save changes. Save your SensorPanel layout after positioning it correctly. Disabling Fast Startup ensures Windows fully reinitializes your display configuration on boot, which can help keep your sensor panel anchored to the correct monitor. Also, check your display position in Windows settings, System, Display. The position of displays in Windows absolutely affects SensorPanel placement—especially in multi-monitor setups. Here's how and why: How Display Positioning Impacts Panel Placement Windows uses a virtual desktop space where each monitor is mapped with coordinates. If you rearrange monitors in Display Settings, the coordinates of each screen shift. SensorPanel (and other apps) remember their last position using these coordinates. If your 1920×720 panel was placed on a monitor that has been moved, it may appear off-screen or jump to another display. For example, I used my MSI Afternurner on my second monitor, and it stays there. Common triggers for misplacement Changing monitor order or alignment (e.g., dragging monitors in Display Settings) Switching primary monitor Connecting/disconnecting external displays Resolution or scaling changes Fast Startup or driver resets on boot How to stabilize panel placement Lock your monitor layout Keep your display arrangement consistent in Windows Settings. Avoid dragging monitors around unless necessary. Match display scaling across monitors Go to Settings > System > Display > Scale and ensure all monitors use the same percentage (e.g. 100%). Disable Fast Startup This forces Windows to reinitialize display settings properly on boot. Happens to me a few times when I connect/disconnect external displays. Try the fix mentioned above and see if it helps.
-
The .spzip extension in AIDA64 refers to a SensorPanel layout file—a compressed package. This helps reduce the file size, similar to how a ZIP file works.
-
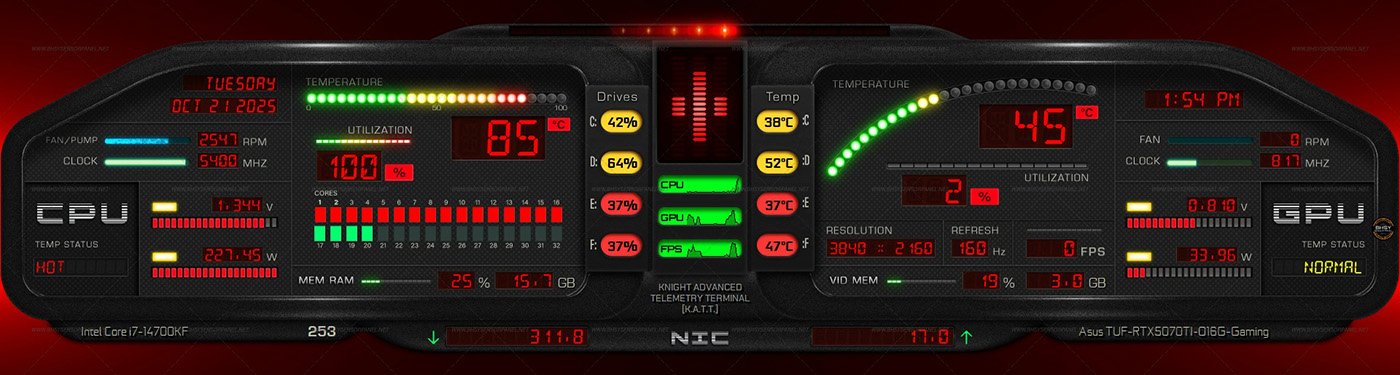
70-KNIGHT ADVANCED TELEMETRY TERMINAL [K.A.T.T.] Available template size available: 1920x480 / 1920x515 / 2560x720 Design inspired by the classic series Knight Rider and the iconic K.I.T.T. dashboard. Click the link above to view the SensorPanel video. It’s optimized for widescreen displays only. If you need a different widescreen resolution, feel free to reach out directly. A horizontal array of red LED segments pulses gently across the top of the panel, moving from left to right and right to left in a deliberate, slow sweep. Each segment illuminates in sequence, creating a fluid ripple of light that mimics a scanning motion. Below the red LED array, a vertical array of red LED bars pulses rhythmically, mimicking 'K.I.T.T.' vocal modulation. Update: If you want to add a KITT display video, a download link and instructions are provided. All sensor panel skins were crafted entirely by hand—from a blank white artboard to a polished panel—no generative AI involved. Require: AIDA64 version 7.70.7500 or Beta 7.99.7829 or newer is needed. Visit BHSYSensorPanel for more designs.

-
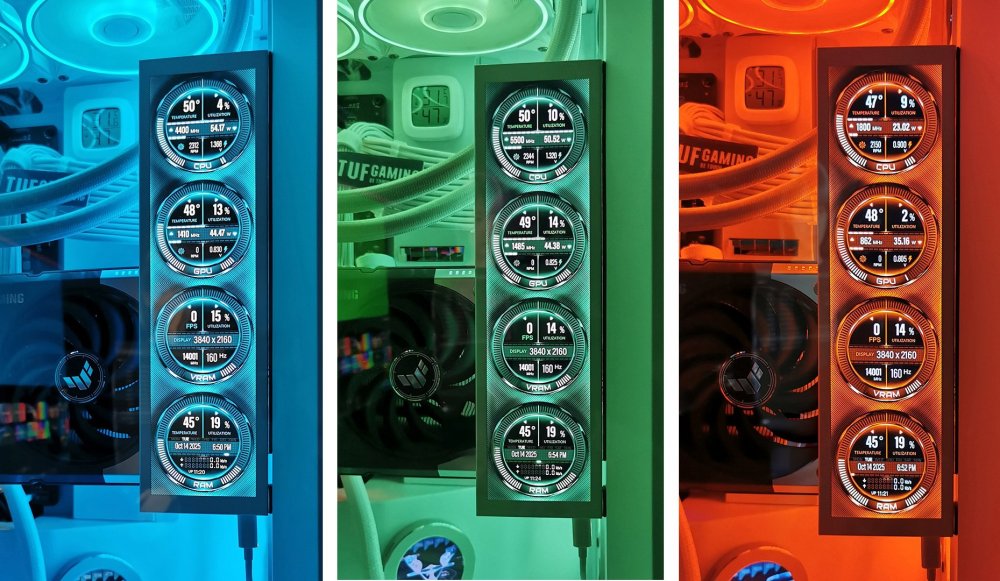
67-AIDA64 Sensor Panel QuadSight Template now available in BLUE, GREEN, RED in 1920x480 / 1920x515 / 480x1920 / 515x1920 / 2560x720 / 720x2560 View the demo video by clicking the above link. For other widescreen sizes or colors, feel free to contact me directly. Require: AIDA64 version 7.70.7500 or Beta 7.99.7829 or newer is needed. Visit BHSYSensorPanel for more designs.
-
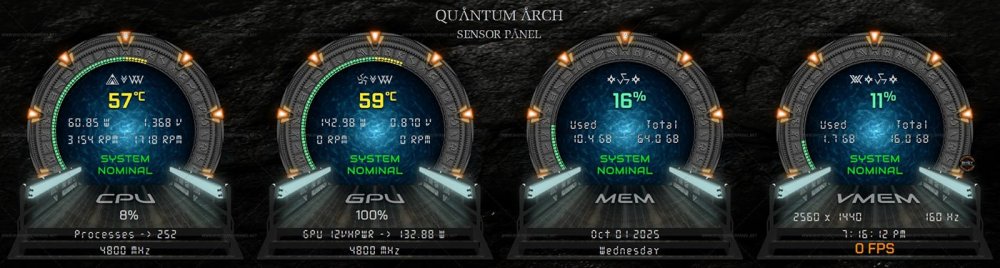
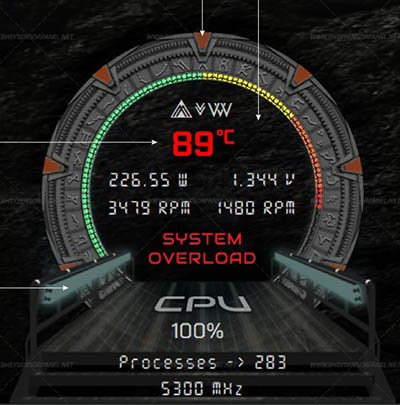
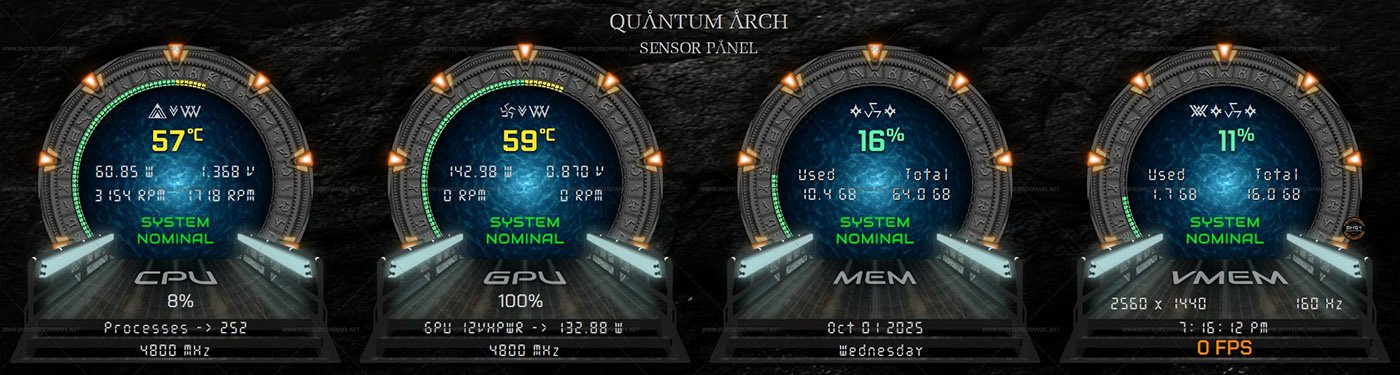
69-Quantum Arch Template. Size available in 1920x480 / 1920x515. For inquiries about other widescreen sizes, feel free to send a private message. Sci-fi-inspired design, drawing visual cues from Stargate. This interface is entirely original and not associated with any game, franchise, or intellectual property. Require: AIDA64 version 7.70.7500 or Beta 7.99.7829 or newer is needed. Visit BHSYSensorPanel for more designs.